
|
Do it yourself
| |||
| ||||


Replacing the Dipped Beam on a Toyota Yaris mk3
Model: Toyota Yaris
Xp130
- Years 2011-2019
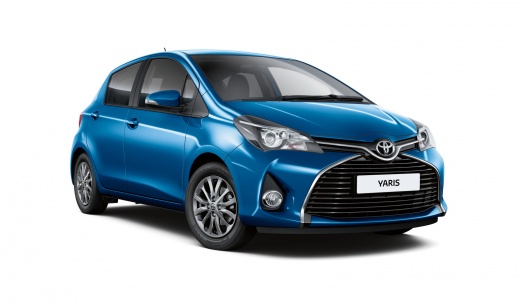
Working with the engine off and the handbrake engaged, lift the bonnet and secure it. Disconnect the rear connector from the bulb by gently pulling it, as clearly shown in the video. At this point, remove the round rubber cover located at the back of the headlamp. Once done, the only obstacle preventing you from extracting the bulb is the metal clip similar to a paperclip that holds the bulb in place. Release it to proceed. Remove the bulb and insert the new one, then reverse the process. Goodbye!
Updated on 23 April 2026 by ScegliAuto
Video tutorial
Related tutorials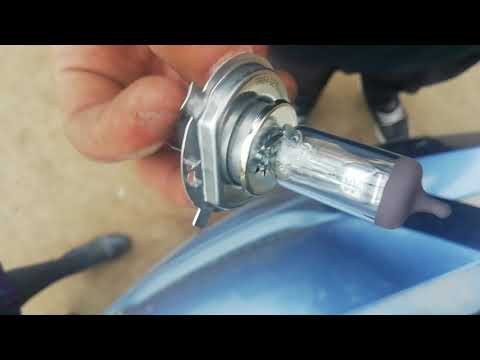
Toyota Yaris
(2005-2011 /
Xp90)
This short video tutorial shows how to change the dipped beam bulb on a second-generation Toyota Yaris, produced from 2005 to 2011. First, open the b…
Toyota Yaris
(2005-2011 /
Xp90)
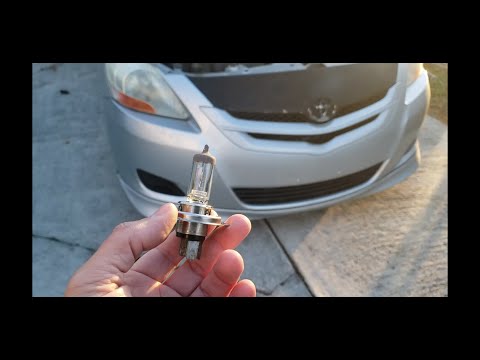
This short video guide explains how to change the dipped beam bulb (H4) on a second-generation Toyota Yaris, produced from 2005 to 2011. First, open …
Toyota Yaris
(2005-2011 /
Xp90)
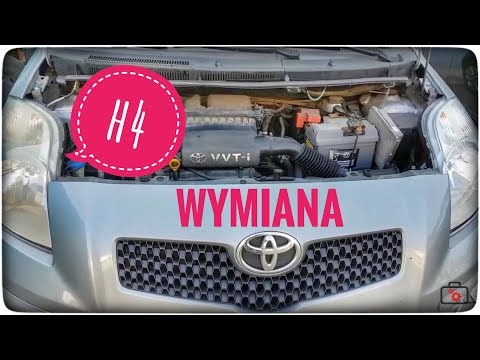
To replace the dipped beam bulb on your Toyota Yaris, start by opening the bonnet and securing it with the prop rods. Locate the headlamp where the b…
Other guides you may be interested in
|
How to Replace the Heating Radiator in a Volkswagen Golf?
To remove the heating radiator in a Volkswagen Golf, you need to completely dismantle the lower part of the dashboard next to the pedal area: once this panel is removed, you can locate the heating radiator at the bottom of the dashboard. By loosening its fastening screws and disconnecting the fluid passage pipes, you can remove the old radiator and insert the new one. The new radiator must be properly secured and connected, ensuring everything is functioning correctly. by ScegliAuto More videos
|
|
For advertising on this site Write to info@scegliauto.com
ScegliAuto is not responsible for any inaccuracy of the data in the lists. To report any inaccuracy or your business (if you own the business in question), please write to info@scegliauto.com
Number of seconds to generate the page: 0.192
(c) ScegliAuto 2026 - info@scegliauto.com - Privacy policy VAT number: IT01247470535 |
