
|
Do it yourself
| |||
| ||||


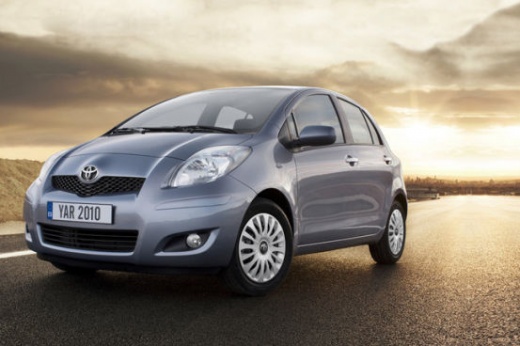
How to Replace the Dipped Beam Bulb on a Toyota Yaris?
Model: Toyota Yaris
Xp90
- Years:
2005, 2006, 2007, 2008, 2009, 2010, 2011
Video tutorial
To replace the dipped beam bulb on your Toyota Yaris, start by opening the bonnet and securing it with the prop rods. Locate the headlamp where the bulb needs replacing and disconnect the plastic connector. Remove the rubber cap covering the bulb, then pull the connector towards you to extract the bulb, after detaching the metal clip that holds it in place. Fit the new bulb and reverse all the steps taken to remove the old bulb, and the job is done!
Updated on 24 April 2026 by ScegliAuto
Related tutorials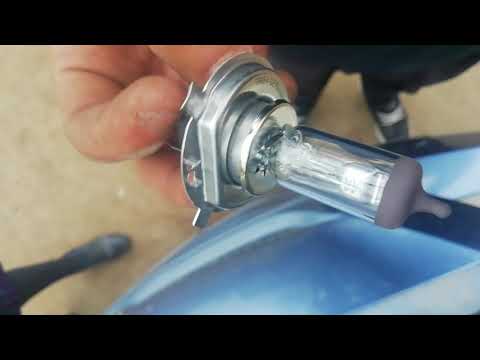
Toyota Yaris
(2005-2011 /
Xp90)
This short video tutorial shows how to change the dipped beam bulb on a second-generation Toyota Yaris, produced from 2005 to 2011. First, open the b…
Toyota Yaris
(2005-2011 /
Xp90)
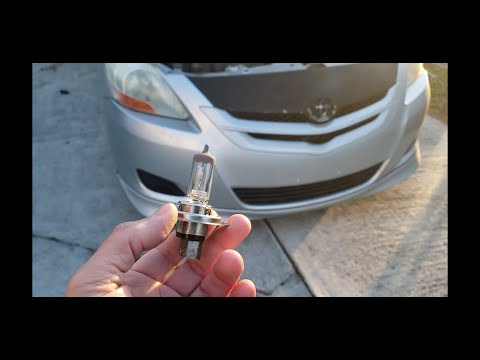
This short video guide explains how to change the dipped beam bulb (H4) on a second-generation Toyota Yaris, produced from 2005 to 2011. First, open …

Toyota Yaris
(1999-2005 /
Xp10)
For those who own a Toyota Yaris like the one in the video, here is how to replace the dipped beam bulbs without going to a garage, doing it yourself…
Other guides you may be interested in |
Frequently Asked QuestionsHow to Remove the Rear Seat of a Hyundai Tucson?
To remove the rear seat of a Hyundai Tucson, follow these steps. Start by moving the front seats to their most forward position to gain space. Next, locate the release lever on the underside of the rear seat, near the floor. Press this lever down while pulling the seat upwards to unlock it from the anchor pins. Once unlocked, tilt the seat upwards and forwards to remove it from its position. Repeat this process for both sides of the rear seat. Be careful of any electrical cables or components that may be connected to the seat during removal. Once the rear seat is removed, the disassembly is complete. by ScegliAuto More videos
|
|
For advertising on this site Write to info@scegliauto.com
ScegliAuto is not responsible for any inaccuracy of the data in the lists. To report any inaccuracy or your business (if you own the business in question), please write to info@scegliauto.com
Number of seconds to generate the page: 0.012
(c) ScegliAuto 2026 - info@scegliauto.com - Privacy policy VAT number: IT01247470535 |
