
|
Do it yourself
| |||
| ||||


Replacement of Rear Brake Pads
Model: Toyota Rav 4
MK 3, Xa30
- Years 2006-2013
This video shows the replacement of worn brake pads on a Toyota Rav-4. After securing the vehicle and placing it on a jack, use an electric light source for better visibility. Using a 14 mm ratchet spanner, unscrew the two bolts that secure the caliper (it is advisable not to remove them completely but to leave them resting in their place). Remove the caliper and take out the first pad and then the second. Use a spacer to create the exact space for inserting the new pad with a very slow screwing motion. Now reposition the caliper and take the two new pads; compare them with the wear state of the ones just removed, then wash your hands to avoid contaminating the new pads. To be more efficient, they must obviously not be dirty with grease or anything else. Retrieve the retaining clips from the old pads and fit them onto the new ones, ensuring they are positioned correctly. Reposition the caliper and secure it with its two 14 mm bolts. The video author also reminds to pay attention to the brake fluid levels. Additionally, after replacing the pads, it is advised not to drive the vehicle immediately; it is suggested to test the brakes by pressing slowly on the same pedal to better seat the pads and cautiously test the braking.
Updated on 8 February 2026 by ScegliAuto
Video tutorial
Related tutorials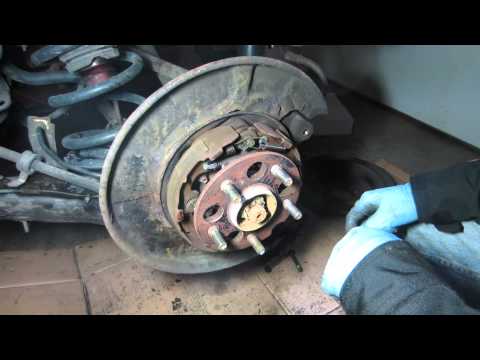
Toyota Rav 4
(2000-2006 /
Xa20, MK 2)
Remove the worn brake pads on a Toyota Rav 4. Lift the car on a jack to the desired height, then remove the wheel (using a socket wrench or air impac…
Toyota Rav 4
(2019-2026 /
Xa50, MK 5)
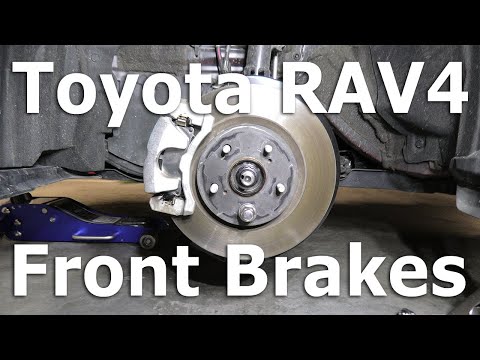
In today's video tutorial, you will learn how to remove and replace the front brake pads, which also applies to the rear pads, on a Toyota Rav4 MK5. …
Toyota Rav 4
(2006-2013 /
MK 3, Xa30)
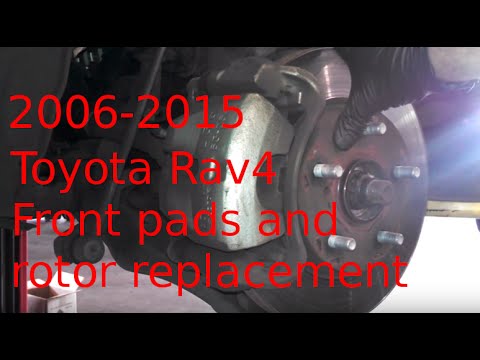
Let's replace the front brake pads on a Toyota Rav 4. Lift the vehicle on a column lift to the desired height, remove the wheel (using a telescopic s…
Other guides you may be interested in
|
Fuses Location and Diagram for the Volkswagen Crafter
In this guide, we will look at the location of the fuse boxes and how to find their diagram for the Volkswagen Crafter. First, get inside the vehicle and start by removing the plastic cover found under the steering wheel, to access the internal fuse box; you will find another fuse box in the engine compartment by removing the plastic cover located next to the battery. At this point, use the owner's manual to find the fuse diagram, which will allow you to identify and replace any blown fuses with new ones! by ScegliAuto More videos
|

|
For advertising on this site Write to info@scegliauto.com
ScegliAuto is not responsible for any inaccuracy of the data in the lists. To report any inaccuracy or your business (if you own the business in question), please write to info@scegliauto.com
Number of seconds to generate the page: 0.093
(c) ScegliAuto 2026 - info@scegliauto.com - Privacy policy VAT number: IT01247470535 |
