
|
Do it yourself
| |||
| ||||



Replacing the Third Brake Light Bulb on the Toyota Yaris
Model: Toyota Yaris
Xp130
- Years:
2011, 2012, 2013, 2014, 2015, 2016, 2017, 2018, 2019
Video tutorial
Follow, in this video, described verbally as well, the procedure to replace the bulb of the third brake light on a Toyota Yaris. With the tailgate open, remove the inner panel of the third brake light and disconnect the bulb holder. Now, from the outside, pull out the holder and disconnect the wires, then proceed to prepare the replacement LED strip. You will need to remove the two locking clips, extract it, and prepare the new LED strip, ensuring it is the same length, soldering the wires for connection with a soldering iron. Once done, reattach the locking clips and fit it back into its holder. Finally, from the outside of the tailgate, reconnect the wires, close the inner panel, and test by pressing the brake pedal to check that it lights up. Operation complete.
Updated on 31 May 2026 by ScegliAuto
Related tutorials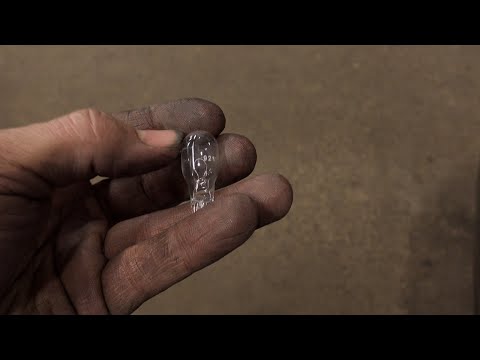
Toyota Yaris
(2005-2011 /
Xp90)
To replace the third brake light bulb on a Toyota Yaris, open the rear hatch to access the interior: here you will find the hole containing the conne…
Toyota Yaris
(1999-2005 /
Xp10)
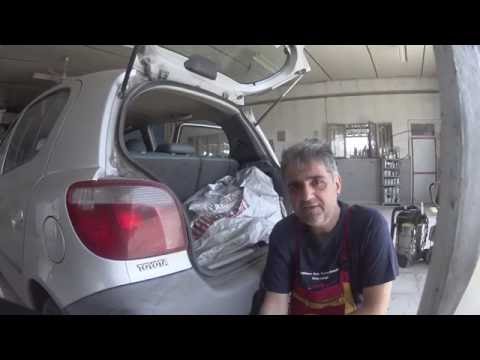
Today, learn how to remove and replace the rear headlamp bulb on a first-generation Toyota Yaris. First, open the boot and remove the plastic side co…

Toyota Yaris
(2005-2011 /
Xp90)
In today's video tutorial, we will see how to remove and replace the bulbs of the rear brake lights on a Toyota Yaris. First, open the boot and remov…
Other guides you may be interested in
|
How to Open the Bonnet on the Mitsubishi L200?
In this tutorial, you will see how to open the bonnet on the Mitsubishi L200, a very simple operation that follows the standard procedure. First, open the vehicle and go to the driver's side, then locate the lever at the lower outer area, just in front of the pedals, and pull it. Next, position yourself in front of the bonnet, locate the second lever above the Mitsubishi logo, and push it to the right, releasing the latch. At this point, you can fully lift the bonnet and secure it with the prop rod. by ScegliAuto More videos
|
|
For advertising on this site Write to info@scegliauto.com
ScegliAuto is not responsible for any inaccuracy of the data in the lists. To report any inaccuracy or your business (if you own the business in question), please write to info@scegliauto.com
Number of seconds to generate the page: 0.037
(c) ScegliAuto 2026 - info@scegliauto.com - Privacy policy VAT number: IT01247470535 |
