
|
Do it yourself
| |||
| ||||


Fuse Box Diagram of the Toyota Yaris 2
Model: Toyota Yaris
Xp90
- Years 2005-2011
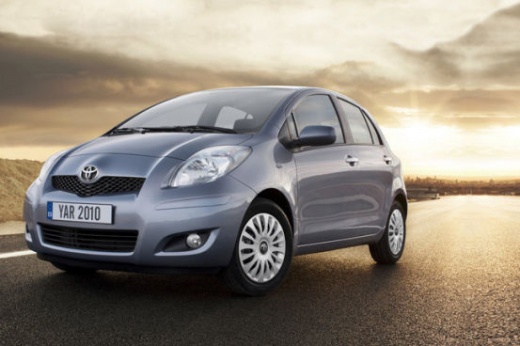
In this brief video guide, we will look at the position of the fuse boxes in a second-generation Toyota Yaris, produced from 2005 to 2011. The first fuse box is located inside the vehicle's cabin, specifically under the dashboard and to the left of the driver's steering wheel. The second fuse box, as shown in the video, is located in the engine compartment on the right, so to access it, you must first pull the bonnet release lever and then open it. This guide also includes diagrams for each individual fuse.
Updated on 10 July 2026 by ScegliAuto
Video tutorial
Related tutorials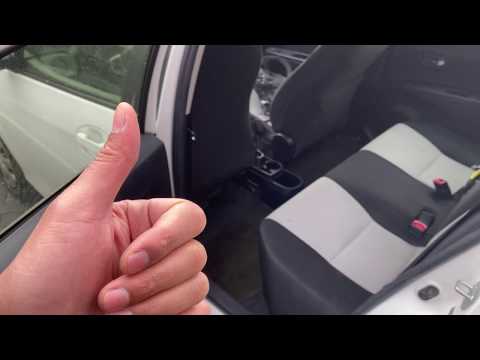
Toyota Yaris
(2005-2011 /
Xp90)
Before starting, open the rear doors of your Toyota Yaris. Begin by pulling up the two hooks located at the upper corners of the rear seats, thus rel…

Toyota Yaris
(2011-2019 /
Xp130)
Start by opening the bonnet of your Toyota Yaris by pulling the designated release handle located at the bottom left of the steering column. Next, un…
Toyota Yaris
(2020-2026 /
MK 4)
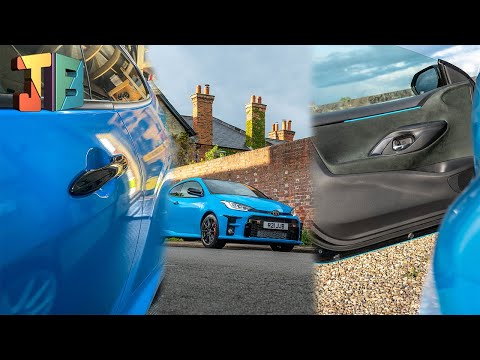
Before you start, open the front door of your Toyota Yaris. Begin by unclipping and removing the window switch controls, then disconnect the associat…
Other guides you may be interested in
|
Frequently Asked QuestionsHow to Connect the Cables to the Battery of the Citroen Xsara Picasso?
In this tutorial, you will see how to connect the cables to the battery of the Citroen Xsara Picasso, useful if you need to recharge it or perform an emergency start. First, ensure the key is not inserted, then open the bonnet and move to the front of the left headlamp. Next, locate the bolt just behind the filter box and connect the positive terminal clamp to it. Now you can connect the negative terminal to any point on the chassis, such as the indicated point. Once the operation is complete, ensure you disconnect the negative first and then the positive. by ScegliAuto More videos
|
|
For advertising on this site Write to info@scegliauto.com
ScegliAuto is not responsible for any inaccuracy of the data in the lists. To report any inaccuracy or your business (if you own the business in question), please write to info@scegliauto.com
Number of seconds to generate the page: 1.129
(c) ScegliAuto 2026 - info@scegliauto.com - Privacy policy VAT number: IT01247470535 |
