
|
Do it yourself
| |||
| ||||


How to read the electrical diagram of a starter relay
Model: (Various brands) Various
In this drawing we see a standard 4-pin relay, marked with numbers: 30 is the power supply directly from the battery; 85 and 86 are the control coil, connected to the ignition switch; 87 is the output to the starter motor. Let's take an example in a car, which we can verify from the drawing: 85 is connected to the ignition key; 86 is connected to ground; 30 to the battery and 87 to the starter motor. If we need to find them in an electrical diagram, the relay coil is represented by a square bracket or rectangle with 85 and 86; the contacts are 30 and 87, lines that open and close. To check its operation we can test the coil with a multimeter in Ohm mode between 85 and 86 we should read 50/120; if we want to test the contacts, without power between 30 and 87 we should have an open circuit, while powering 85/86 should close.
Posted on 1 July 2025 by ScegliAuto
This video is currently unavailable
Related tutorials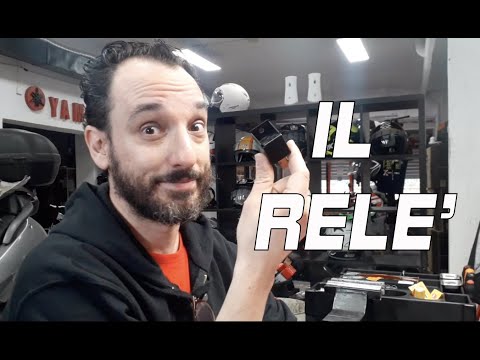
(Various brands) Various
In this video tutorial, you will learn how the starter relay of the scooter works. First, you should know that this type of relay can be found in the…

(Various brands) Various
Learn how to test the starter relay (solenoid) on your motorcycle. The solenoid is a switch that allows a low current circuit (the start button) to c…

(Various brands) Various
The starting system of a car is an integrated network of electrical and mechanical components that work together to start the engine. The 12-volt bat…
Other guides you may be interested in
|
Frequently Asked QuestionsHow to Open a Stuck Boot on the Peugeot 407?
On the Peugeot 407, the boot may become stuck, possibly due to a problem with the control button or the lock actuator. In such cases, you can perform an emergency opening by following the simple procedure shown in this tutorial. First, open the rear doors, then lower the seat back by operating the release lever. Next, go inside the boot, locate the lock, and manually operate it using a flathead screwdriver. The boot will then be free to open. by ScegliAuto More videos
|
|
For advertising on this site Write to info@scegliauto.com
ScegliAuto is not responsible for any inaccuracy of the data in the lists. To report any inaccuracy or your business (if you own the business in question), please write to info@scegliauto.com
Number of seconds to generate the page: 0.583
(c) ScegliAuto 2026 - info@scegliauto.com - Privacy policy VAT number: IT01247470535 |
