
|
Do it yourself
| |||
| ||||


Schematic diagram of the fuel level indicator in a car.
Model: (Various brands) Various
The path of electricity, as shown in our diagram, is as follows: from the 12-volt battery, we go to the indicator, which has two terminals: power input (with the key inserted) and output/signal. From here, a wire goes to the sensor in the tank. From the indicator, we go to the sensor in the tank, which is the "signal wire" that reaches the terminal of the potentiometer connected to the movable brush of the float. From the sensor, the current goes to ground, so the current does not physically return to the battery through a dedicated wire, but instead uses the metal structures of the car (the body) as a "return wire." When the tank is full, the float is up, and the potentiometer provides low resistance, causing the needle to move towards "F" (full); when the tank is empty, the float is down, and the potentiometer provides high resistance, causing the needle to move towards "E" (empty).
Posted on 3 December 2025 by ScegliAuto
Video tutorial
Related tutorials
(Various brands) Various
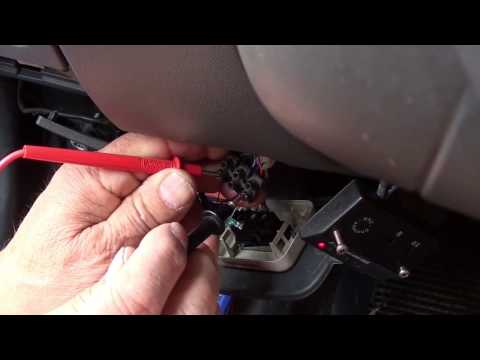
This YouTuber explains the main reason why the fuel level indicator in our car doesn't work. In fact, in 80% of cases, the problem is due to the leve…
(Various brands) Various
If you encounter issues with the gas level indicator on your vehicle, particularly if the level remains at zero (red light on) even after refuelling,…

(Various brands) Various
Have you ever noticed that on the fuel gauge, next to the petrol station icon, there is an arrow? This arrow is a helpful aid to identify which side …
Other guides you may be interested in
|
Where is the Spare Wheel in the Peugeot 5008?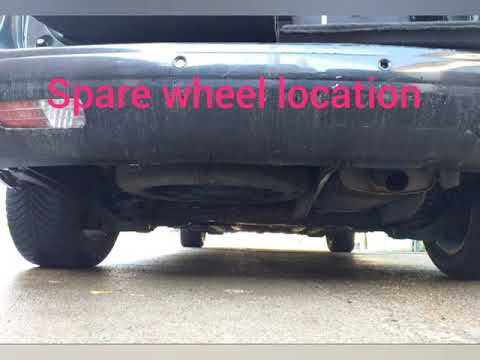
This video shows where the spare wheel is located in the Peugeot 5008 and how to access it, useful in case of a puncture. As shown, the wheel is not in the usual boot compartment but underneath it, outside the vehicle. To free the wheel, first gather the tools provided, then open the boot, locate the small indicated hatch, and open it. Next, loosen the bolt just released using the large socket wrench enough to lower the wheel to the ground. by ScegliAuto More videos
|
|
For advertising on this site Write to info@scegliauto.com
ScegliAuto is not responsible for any inaccuracy of the data in the lists. To report any inaccuracy or your business (if you own the business in question), please write to info@scegliauto.com
Number of seconds to generate the page: 0.295
(c) ScegliAuto 2026 - info@scegliauto.com - Privacy policy VAT number: IT01247470535 |
