
|
Do it yourself
| |||
| ||||


How the Latest Generation VDO Works
Model: (Various brands) Various
Video tutorial
This video explains how the VDO, that is, the digital tachograph, works on a commercial vehicle, as explained by someone who uses it every day: at the top, we see the time, and we see that we are in activity (due to the two crossed hammers); the first driver has 1 hour and 7 minutes of driving, the second line indicates the bi-weekly hours, then next to it shows the rest hours and other activities (different from driving); it then goes to the second driver's activity; the VDO indicates that there are 3 hours and 23 minutes of driving left, then the driver must take a 45-minute break to have another 4.5 hours of driving. The next screen tells us that out of 24 hours, there are 8 hours and 53 minutes of driving left, and 13 hours and 31 minutes of commitment, after which they can take 9 hours of rest. Then it shows the activity for the first week: they still have 48 hours and 27 minutes of driving available, and 118 hours and 30 minutes of activity before the 24 hours of rest, another screen for information, there are still 2 reduced periods of 9 hours and they can still do 2 times 10 hours of driving and zero hours to recover.
Updated on 7 October 2026 by ScegliAuto
Related tutorials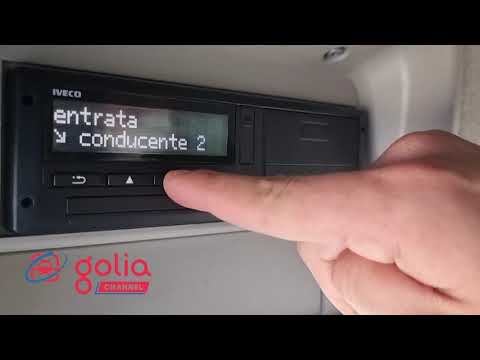
(Various brands) Various
In this video, we will show how to activate the OUT mode on your tachograph. But what is OUT? In private areas, the regulations of EC Regulation 561/…
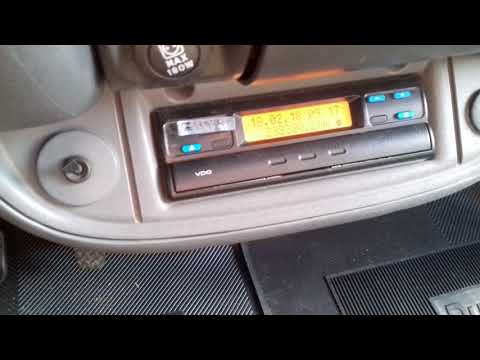
(Various brands) Various
In this video, we will see how to set the daily time on the VDO tachograph of a van. Press the button located on the right side of the device while s…

(Various brands) Various
In this video we see something very important for those who drive a large commercial vehicle: how to check and change the local time of the VDO tacho…
Other guides you may be interested in |
How to Remove the Toll Tag Holder from the Car Windscreen
The toll tag holder is usually attached to the car windscreen to ensure that the toll tag functions immediately when passing through barriers. However, if you decide to remove the holder, you should follow this procedure: - Insert the toll tag into the holder; - Pull the holder inwards to detach it from the windscreen; you can use a glass scraper or a stiff plastic card to assist you; After removing the holder, it is essential to remove the adhesive from the windscreen. To remove the adhesive, we recommend using a solvent-based spray that will remove the glue without clouding the area. by ScegliAuto More videos
|
|
For advertising on this site Write to info@scegliauto.com
ScegliAuto is not responsible for any inaccuracy of the data in the lists. To report any inaccuracy or your business (if you own the business in question), please write to info@scegliauto.com
Number of seconds to generate the page: 0.042
(c) ScegliAuto 2026 - info@scegliauto.com - Privacy policy VAT number: IT01247470535 |
