
|
Do it yourself
| |||
| ||||


How to replace the rear headlight bulb of the Volkswagen Golf 7
Model: Volkswagen Golf
Golf VII, MK 7, Golf 7
- Years 2012-2019
The correct functioning of all the rear headlight bulbs of your Volkswagen Golf Mk7 is absolutely important not only for your safety, but also and above all for all the drivers behind you. In this new guide we will explain how to replace the bulb quickly and correctly. First, lift the hood and proceed with the removal of the small protective cap located at the headlight. At this point, unscrew the safety hook and remove the entire headlight by disconnecting the appropriate electrical cable connected to it. Finally, remove the bulb holder and proceed with the replacement.
Posted on 2 March 2025 by ScegliAuto
Video tutorial
Related tutorials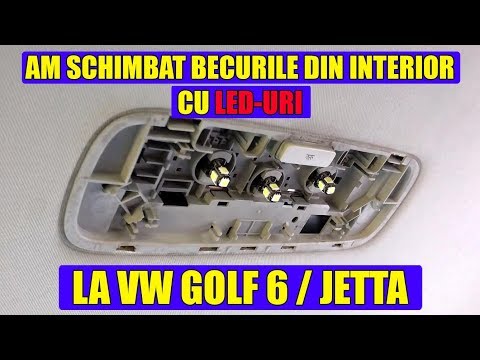
Volkswagen Golf
(2003-2008 /
MK 5, Golf 5, Golf V)
In this guide, remove the interior light of a Volkswagen Golf 5. Use a screwdriver to lever between the light and the headlining panel (unscrew any s…

Volkswagen Golf
(2008-2012 /
MK 6, Golf VI, Golf 6, 5K1)
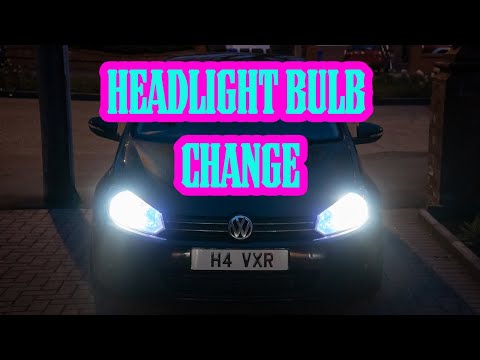
To replace the front headlight bulb of the Volkswagen Golf 6, lift the bonnet to access the rear of the headlight corresponding to the bulb to be rep…
Volkswagen Golf
(2008-2012 /
MK 6, Golf VI, Golf 6, 5K1)
To replace the front headlamp bulb of the Volkswagen Golf 6, open the bonnet to access the back of the headlamp where the bulb needs to be replaced. …
Other guides you may be interested in
|
How to Connect the Cables to the Battery of the Citroen Xsara Picasso?
In this tutorial, you will see how to connect the cables to the battery of the Citroen Xsara Picasso, useful if you need to recharge it or perform an emergency start. First, ensure the key is not inserted, then open the bonnet and move to the front of the left headlamp. Next, locate the bolt just behind the filter box and connect the positive terminal clamp to it. Now you can connect the negative terminal to any point on the chassis, such as the indicated point. Once the operation is complete, ensure you disconnect the negative first and then the positive. by ScegliAuto More videos
|
|
For advertising on this site Write to info@scegliauto.com
ScegliAuto is not responsible for any inaccuracy of the data in the lists. To report any inaccuracy or your business (if you own the business in question), please write to info@scegliauto.com
Number of seconds to generate the page: 0.118
(c) ScegliAuto 2026 - info@scegliauto.com - Privacy policy VAT number: IT01247470535 |
