
|
Do it yourself
| |||
| ||||


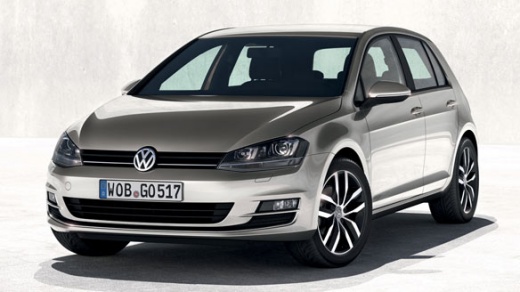
How to recharge the air conditioning in the Volkswagen Golf
Model: Volkswagen Golf
MK 7, Golf 7, Golf VII
- Years:
2012, 2013, 2014, 2015, 2016, 2017, 2018, 2019
Video tutorial
To recharge the air conditioning in your Volkswagen Golf, follow these steps. First, let's prepare our canister with the refrigerant inside; in this case, as we see in the video, it is R134a, which can be used in models from 1994 to 2016. The first thing we need to do is completely unscrew the part that will pierce the opening of the canister. Next, after opening the hood, we locate the low-pressure line of the car, which is positioned on the left side of the engine group under the windshield washer fluid reservoir. Once that's done, we connect the canister's hose to the car's low-pressure line. Then, we start the vehicle and proceed with the recharge. We connect the canister to the other end of its hose, pierce it completely with the appropriate tip, and gradually unscrew the tip so that the refrigerant liquid flows out. Once the correct pressure is reached, the operation is complete.
Posted on 23 November 2025 by ScegliAuto
Related tutorials
Volkswagen Golf
(2003-2008 /
Golf 5, MK 5, Golf V)
The air conditioning in the Volkswagen Golf 5, like any other vehicle equipped with such a system, cools the cabin once activated, thanks to the temp…

Volkswagen Golf
(2012-2019 /
MK 7, Golf 7, Golf VII)
Briefly follow these instructions to calibrate the automatic air conditioning of the Volkswagen Golf. First, get in the vehicle and turn on the ignit…

Volkswagen Golf
(2003-2008 /
Golf 5, MK 5, Golf V)
Turning on and off the air conditioning in the Volkswagen Golf mk5 is a simple and quick operation. To turn on the air conditioning, first start the …
Other guides you may be interested in
|
How to Open the Bonnet on the Mitsubishi L200?
In this tutorial, you will see how to open the bonnet on the Mitsubishi L200, a very simple operation that follows the standard procedure. First, open the vehicle and go to the driver's side, then locate the lever at the lower outer area, just in front of the pedals, and pull it. Next, position yourself in front of the bonnet, locate the second lever above the Mitsubishi logo, and push it to the right, releasing the latch. At this point, you can fully lift the bonnet and secure it with the prop rod. by ScegliAuto More videos
|
|
For advertising on this site Write to info@scegliauto.com
ScegliAuto is not responsible for any inaccuracy of the data in the lists. To report any inaccuracy or your business (if you own the business in question), please write to info@scegliauto.com
Number of seconds to generate the page: 0.025
(c) ScegliAuto 2026 - info@scegliauto.com - Privacy policy VAT number: IT01247470535 |
