
|
Do it yourself
| |||
| ||||


How to remove the lower grille from the bumper of a Volkswagen Golf MK6
Model: Volkswagen Golf
MK 6, Golf VI, Golf 6, 5K1
- Years 2008-2012
Let's see how to remove the lower grille (or air intake) on the front bumper of a Volkswagen Golf MK6: in most cases, the lower grille is held in place with plastic clips that latch from the inside of the bumper. Therefore, it will be necessary to lift the vehicle and place it on safety stands. Let's remove the outer grilles by simply prying them off with a screwdriver. For the central one, we will need to go under the vehicle and we will see plastic tabs that latch under the bumper; let's unlock them by pressing towards the center of the tab. Once all the clips are unlocked, the grille should be free. From the outside, let's grab it and pull it towards us; do not force it if it does not come off, instead check to make sure all the clips are unlocked. If there are any visible screws (it's rare but it can happen), let's remove them. Avoid doing this operation in extremely cold temperatures, as the plastic becomes brittle.
Posted on 14 January 2026 by ScegliAuto
Video tutorial
Related tutorials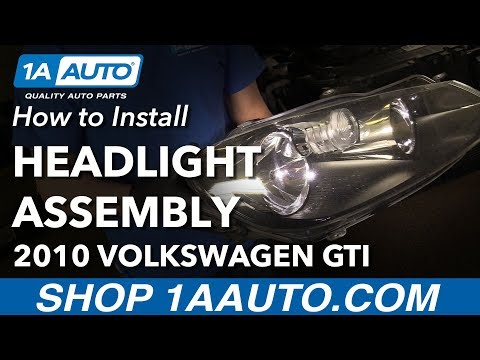
Volkswagen Golf
(2008-2012 /
MK 6, Golf VI, Golf 6, 5K1)
To remove the front headlamp of the Volkswagen Golf 6, open the bonnet to access the screws securing the upper part of the front grille. Once the gri…

Volkswagen Golf
(2008-2012 /
MK 6, Golf VI, Golf 6, 5K1)
Today we will see the instructions that will allow us to disassemble and replace the front bumper of the Volkswagen Golf, in simple and quick steps. …

Volkswagen Golf
(2008-2012 /
MK 6, Golf VI, Golf 6, 5K1)
To remove the front bumper of the Volkswagen Golf, open the bonnet to access the screws that secure it from the top: these screws must be loosened to…
Other guides you may be interested in
|
How to Connect the Cables to the Battery of the Citroen Xsara Picasso?
In this tutorial, you will see how to connect the cables to the battery of the Citroen Xsara Picasso, useful if you need to recharge it or perform an emergency start. First, ensure the key is not inserted, then open the bonnet and move to the front of the left headlamp. Next, locate the bolt just behind the filter box and connect the positive terminal clamp to it. Now you can connect the negative terminal to any point on the chassis, such as the indicated point. Once the operation is complete, ensure you disconnect the negative first and then the positive. by ScegliAuto More videos
|
|
For advertising on this site Write to info@scegliauto.com
ScegliAuto is not responsible for any inaccuracy of the data in the lists. To report any inaccuracy or your business (if you own the business in question), please write to info@scegliauto.com
Number of seconds to generate the page: 0.358
(c) ScegliAuto 2026 - info@scegliauto.com - Privacy policy VAT number: IT01247470535 |
