
|
Do it yourself
| |||
| ||||



How to Replace the Oxygen Sensor on a Volkswagen Golf 7.5
Model: Volkswagen Golf
Golf 7, Golf VII, MK 7
- Years:
2012, 2013, 2014, 2015, 2016, 2017, 2018, 2019
Video tutorial
The oxygen sensors on the Volkswagen Golf 7.5 for both the TSI and TDI engines are two: the upstream sensor is located on the exhaust manifold (or just after the turbo), while the downstream sensor is located after the catalyst, underneath the car. Identify the sensor to be changed, disconnect the connector, free the cable from the clips and remove the old sensor; if it is stuck, spray a bit of WD-40 and let it act, then unscrew by hand. Prepare the new sensor, being careful not to touch the tip of the sensor with greasy fingers. Screw in by hand and then tighten well, route the cable through the guides and reconnect the connector. Start the engine and check that the engine light has turned off.
Posted on 17 March 2026 by ScegliAuto
Related tutorials
Volkswagen Golf
(1997-2003 /
MK 4, Golf 4, Golf IV)
Today we will discover the instructions that will allow us to disassemble and replace the air conditioning pressure sensor of the Volkswagen Golf. Fi…
Volkswagen Golf
(2003-2008 /
Golf 5, Golf V, MK 5)
Before starting, open the bonnet of your Volkswagen Golf. Begin by disconnecting the relevant electrical connector. Next, using pliers, unclip and re…
Volkswagen Golf
(1997-2003 /
MK 4, Golf 4, Golf IV)
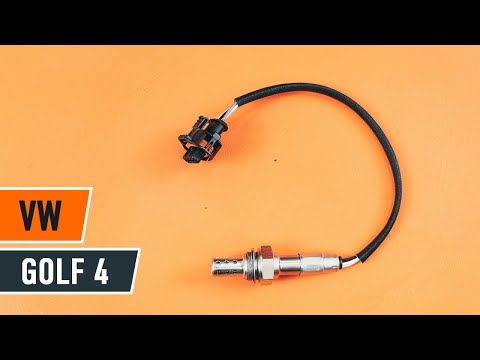
This guide shows how to remove and replace the lambda sensor on the Volkswagen Golf. First, lift the vehicle and start by removing the cover from the…
ScegliAuto offers an extensive international collection of automotive tutorials available in 12 languages. Each guide combines instructional videos with original explanations written by experienced human editors, along with information about the car models covered.
Other guides you may be interested in
|
How to Reset the Tyre Pressure Light on the Hyundai i20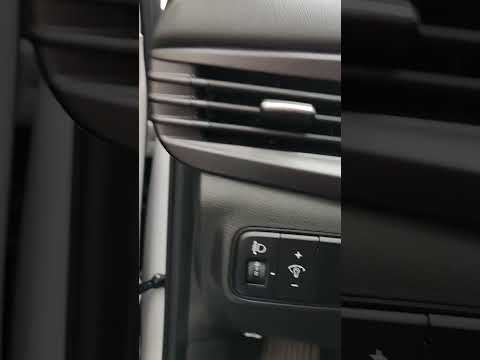
These brief instructions will show you how to reset the tyre pressure monitoring system (TPMS) light on the Hyundai i20. Before performing the reset, ensure that all four tyres are at the correct operating pressure. Then, get inside the cabin and turn on the ignition. Now, press and hold the TPMS reset button located on the left side of the driver's seat until the tyre pressure light resets on the instrument panel, as shown in the video. At this point, turn off the ignition and start the engine to complete the process! by ScegliAuto More videos
|
|
For advertising on this site Write to info@scegliauto.com
ScegliAuto is not responsible for any inaccuracy of the data in the lists. To report any inaccuracy or your business (if you own the business in question), please write to info@scegliauto.com
Number of seconds to generate the page: 0.032
(c) ScegliAuto 2026 - info@scegliauto.com - Privacy policy - About us VAT number: IT01247470535 |
