
|
Do it yourself
| |||
| ||||


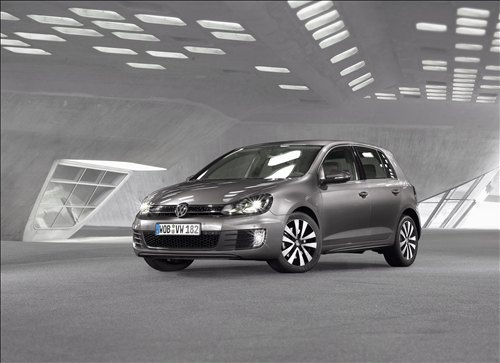
Location and Diagram of the Internal Fuse Box of the Volkswagen Golf
Model: Volkswagen Golf
MK 6, Golf VI, Golf 6, 5K1
- Years 2008-2012
This short guide will illustrate the location and diagram of the internal fuse box of the Volkswagen Golf. First, open the driver's side front door and start removing the plastic cover found at the bottom left, under the indicator stalk; inside, you will find the fuse box, as shown in the video. Usually, the fuse diagram is inside the cover, which can also be found in the vehicle's user and maintenance manual; here you will find all the codes and amperages for each individual fuse, useful for replacements.
Posted on 5 May 2026 by ScegliAuto
Video tutorial
Related tutorials
Volkswagen Golf
(2003-2008 /
MK 5, Golf 5, Golf V)
Today we will look at the information regarding the location and diagram of the internal fuse box for the Volkswagen Golf. First, open the driver's s…

Volkswagen Golf
(2012-2019 /
Golf VII, MK 7, Golf 7)
In this guide, we will provide instructions to locate the diagram and positioning of the internal fuse box in a Volkswagen Golf. First, get in the ve…

Volkswagen Golf
(1997-2003 /
Golf IV, MK 4, Golf 4)
In this guide, we will briefly look at the information regarding the positioning and diagram of the internal fuse box of the Volkswagen Golf. First, …
Other guides you may be interested in
|
Frequently Asked QuestionsHow to Reset the Tyre Pressure Light on the Opel Grandland X
While driving, if you notice the tyre pressure warning light coming on, first check the actual inflation pressure of the tyres and, if necessary, restore the pressures recommended by the manufacturer. After restoring the correct pressures, you need to reset the warning light that has illuminated on the instrument cluster. To do this, locate the reset button on the lower central console. Press this button and hold it down for at least 3 seconds, after which the low pressure indication will turn off. by ScegliAuto More videos
|
|
For advertising on this site Write to info@scegliauto.com
ScegliAuto is not responsible for any inaccuracy of the data in the lists. To report any inaccuracy or your business (if you own the business in question), please write to info@scegliauto.com
Number of seconds to generate the page: 0.269
(c) ScegliAuto 2026 - info@scegliauto.com - Privacy policy VAT number: IT01247470535 |
