
|
Do it yourself
| |||
| ||||


How to Replace the Front Headlamp Bulbs of a Volkswagen Sharan
Model: Volkswagen Sharan
7M, MK 1
- Years:
1995, 1996, 1997, 1998, 1999, 2000, 2001, 2002, 2003, 2004, 2005, 2006
Video tutorial
See how to replace the front headlamp bulbs of a Volkswagen Sharan. Open the front bonnet by pulling the lever located at the bottom right of the dashboard and secure it with the prop. Locate the inspection cap of the headlamp (at the rear of the headlamp) and remove it. You will find the bulbs with metal clips; pull the bulb holders out of the headlamp and extract the damaged bulbs using a screwdriver. Install the new bulbs (ensuring they are the correct type and size) and insert the bulb holder back into the headlamp housing. Reassemble all previously removed parts.
Updated on 11 March 2026 by ScegliAuto
Related tutorials
Volkswagen Sharan
(1995-2010 /
7M, MK 1)
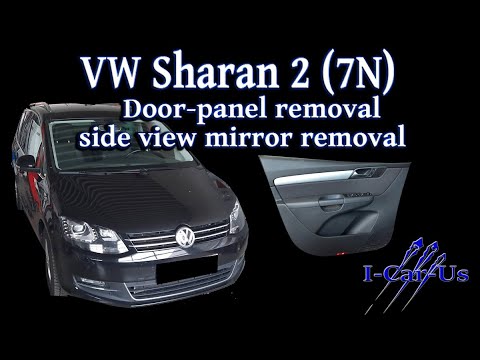
The following video tutorial will explain how to replace the number plate bulb on the Volkswagen Sharan model 7m. To perform this operation, unscrew …
Volkswagen Sharan
(2010-2023 /
7N, MK 2)
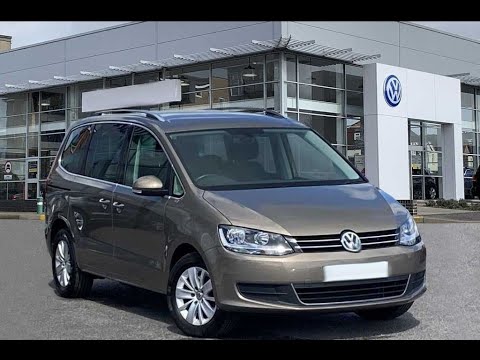
Here are step-by-step instructions for removing the front door panel of the Volkswagen Sharan. First, open the front door and begin removing the plas…
Volkswagen Sharan
(2010-2023 /
7N, MK 2)
In this guide dedicated to the Volkswagen Sharan Mk2, discover how to replace the air filter quickly and independently. First, park the car safely an…
Other guides you may be interested in
|
How to Reset the Tire Pressure Light on a MG ZS?
On the instrument cluster of the MG ZS, the tire pressure light that appears can be reset by inflating the tires to the correct pressure: this value will be indicated on the sticker attached to the driver's door pillar. Once the tires have been properly inflated, you can turn on the instrument cluster and navigate through the menu until you find the option that indicates tire pressure: if this screen shows the new values, the light will turn off; otherwise, you will need to drive for a few miles so that the sensors can read the new values and turn off the light afterward. by ScegliAuto More videos
|
|
For advertising on this site Write to info@scegliauto.com
ScegliAuto is not responsible for any inaccuracy of the data in the lists. To report any inaccuracy or your business (if you own the business in question), please write to info@scegliauto.com
Number of seconds to generate the page: 0.018
(c) ScegliAuto 2026 - info@scegliauto.com - Privacy policy VAT number: IT01247470535 |
