
|
Do it yourself
| |||
| ||||


Fuel Filter Replacement
Model: Volkswagen Golf
Golf IV, Golf 4, MK 4
- Years:
1997, 1998, 1999, 2000, 2001, 2002, 2003
Video tutorial
The diesel filter is located at the front left of the engine bay (when viewed from the front), near the coolant reservoir. Using pliers, loosen the hose clamps and slide them off; then remove the retaining clip from the T-fitting to which new O-ring seals will be applied, generally included in the packaging of the new filter. Remove the old filter and insert the new one: it is not recommended to transfer fuel from the old to the new filter as there may be impurities inside; rather, fill it with clean fuel or an additive. Finally, reconnect the hoses and secure them with the respective clamps.
Updated on 6 February 2026 by ScegliAuto
Related tutorials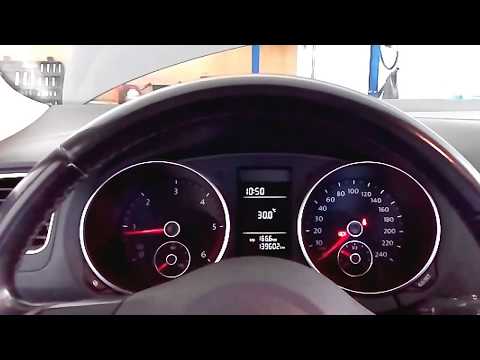
Volkswagen Golf
(2008-2012 /
Golf 6, MK 6, 5K1, Golf VI)
In today's video tutorial, we will go through the steps to remove and replace the diesel filter on the Volkswagen Golf 1.6 TDI. First, open the bonne…
Volkswagen Golf
(2003-2008 /
Golf 5, MK 5, Golf V)
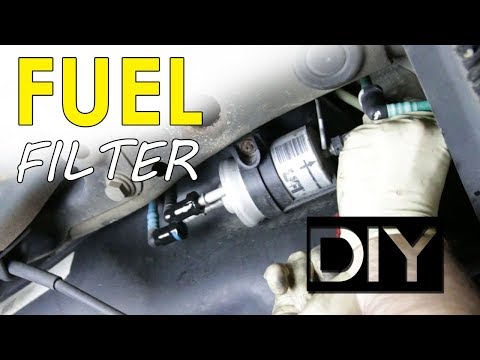
Today, we will go through the steps to remove and replace the fuel filter on a sixth-generation Volkswagen Golf GTI 2.0 TSI. First, lift the vehicle,…
Volkswagen Golf
(2003-2008 /
Golf 5, MK 5, Golf V)
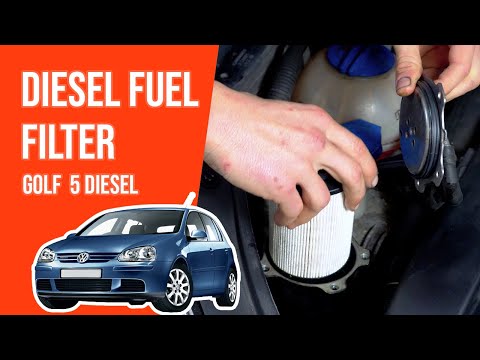
Today, we will see in this short and simple guide how to disassemble and replace the diesel filter of the Volkswagen Golf in easy and quick steps. Fi…
Other guides you may be interested in
|
How to Open the Bonnet on the Mitsubishi L200?
In this tutorial, you will see how to open the bonnet on the Mitsubishi L200, a very simple operation that follows the standard procedure. First, open the vehicle and go to the driver's side, then locate the lever at the lower outer area, just in front of the pedals, and pull it. Next, position yourself in front of the bonnet, locate the second lever above the Mitsubishi logo, and push it to the right, releasing the latch. At this point, you can fully lift the bonnet and secure it with the prop rod. by ScegliAuto More videos
|
|
For advertising on this site Write to info@scegliauto.com
ScegliAuto is not responsible for any inaccuracy of the data in the lists. To report any inaccuracy or your business (if you own the business in question), please write to info@scegliauto.com
Number of seconds to generate the page: 0.036
(c) ScegliAuto 2026 - info@scegliauto.com - Privacy policy VAT number: IT01247470535 |
