
|
Do it yourself
| |||
| ||||


How to Perfectly Adjust the Headlight Alignment on the Golf
Model: Volkswagen Golf
Golf IV, MK 4, Golf 4
- Years 1997-2003
Having a perfect positioning and alignment of the front headlights allows for better visibility on the road. This is especially important if you drive many miles on poorly lit roads. Fortunately, the steps to follow are few and take only a few minutes to complete. Position the car in front of a flat surface (a wall or garage door, etc.). Open the bonnet and stand in front of the passenger side headlight. The exact value of the optimal angle is indicated on the top of its support. Generally, this is 1.2%. This means that the headlight should be exactly 1.2% lower than the parallel axis. Turn on the headlights. Mark a straight reference line on the chosen surface. At this point, locate the knob just behind the headlight. Turn it to the right if the headlights are too low. To the left if they are too high. Align the two front headlights and you have completed the operation.
Updated on 4 May 2026 by ScegliAuto
Video tutorial
Related tutorials
Volkswagen Golf
(2012-2019 /
Golf VII, MK 7, Golf 7)
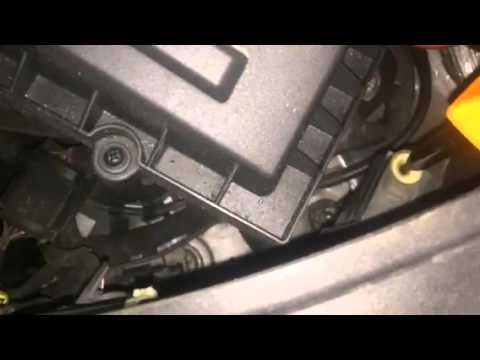
Below we will discover information on how to adjust the height of the front headlights and the light beam of the Volkswagen Golf. First of all, let's…
Volkswagen Golf
(2003-2008 /
MK 5, Golf 5, Golf V)
In this tutorial, see how to adjust the headlights on a Volkswagen Golf MK5, a very simple and quick operation. First, position the vehicle in front …
Volkswagen Golf
(2012-2019 /
Golf VII, MK 7, Golf 7)
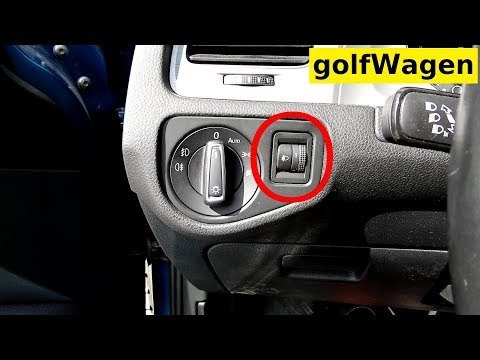
Below are the steps to adjust the front headlights on a Volkswagen Golf. First, get in the vehicle and start the engine, then switch on the lights; i…
Other guides you may be interested in
|
How to Replace the External Wing Mirror on a Ford C MAX
In the event of a breakage, it will be necessary to replace the external wing mirror on the 2011 Ford C MAX. This operation is easily performed independently. Start by removing the internal cover of the mirror with a plastic lever. Then, use a socket wrench to remove the securing pins. Once the pins are removed, you can take off the mirror, but not before disconnecting the power connectors. Then proceed to fit the new mirror. First, connect the connectors and then secure the mirror to its housing with the pins. Refit the plastic cover and test the operation of the electric mirror using the controls. by ScegliAuto More videos
|
|
For advertising on this site Write to info@scegliauto.com
ScegliAuto is not responsible for any inaccuracy of the data in the lists. To report any inaccuracy or your business (if you own the business in question), please write to info@scegliauto.com
Number of seconds to generate the page: 0.207
(c) ScegliAuto 2026 - info@scegliauto.com - Privacy policy VAT number: IT01247470535 |
