
|
Do it yourself
| |||
| ||||


Engine Overhaul and Associated Components
Model: Volkswagen Golf
Golf 5, MK 5, Golf V
- Years:
2003, 2004, 2005, 2006, 2007, 2008
Video tutorial
This video shows you how to completely overhaul your engine and all the various associated components. After thousands of miles, it is necessary to replace all the engine components subject to wear. First, once you have removed the engine, place it in a location that is most convenient and easy for you to work. Once done, start removing all the gaskets present and extract the valves using a specific tool. After replacing the gaskets, you can reposition the engine in the car. Once in the car, if necessary, you will need to use a tool to thread the various holes to secure the engine head. Finally, reassemble all the various components to ensure the engine functions correctly.
Updated on 11 February 2026 by ScegliAuto
Related tutorials
Volkswagen Golf
(2012-2019 /
MK 7, Golf 7, Golf VII)
In this guide, we will see the necessary information to be able to unlock the protection of the components of the Volkswagen Golf car radio. The prot…
Volkswagen Golf
(2008-2012 /
Golf 6, MK 6, 5K1, Golf VI)
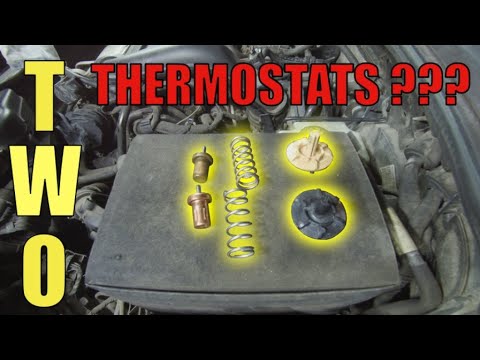
To replace the thermostat of the Volkswagen Golf 1.4 TSI, open the bonnet and access the engine bay by removing the air filter box. To do this, unscr…

Volkswagen Golf
(2012-2019 /
MK 7, Golf 7, Golf VII)
The procedure to dismantle the inner panel of a front door of a Volkswagen Golf car requires a crosshead screwdriver, a torx screwdriver, and a plast…
Other guides you may be interested in
|
How to Replace the Glow Plugs in the Fiat Ducato 2.3 Multijet?
Glow plugs, as the name suggests, raise the temperature of the engine in diesel vehicles to allow for easier starting. The manufacturer, in this case, Fiat for the Ducato 2.3 Multijet, specifies how often they should be replaced, and a warning light will illuminate when it's time. This work is carried out under the bonnet. First, remove the upper engine cover, then lift the coil and, using a socket wrench of the appropriate size, unscrew the glow plug to remove it from the base, followed by installing the new one. by ScegliAuto More videos
|
|
For advertising on this site Write to info@scegliauto.com
ScegliAuto is not responsible for any inaccuracy of the data in the lists. To report any inaccuracy or your business (if you own the business in question), please write to info@scegliauto.com
Number of seconds to generate the page: 0.019
(c) ScegliAuto 2026 - info@scegliauto.com - Privacy policy VAT number: IT01247470535 |
