
|
Do it yourself
| |||
| ||||


How to Replace the Rear Light Bulbs
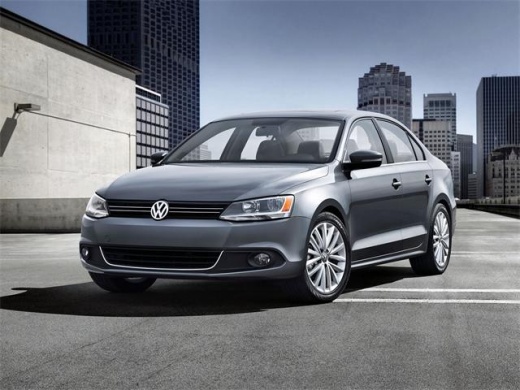
Model: Volkswagen Jetta
MK 6, A6
- Years 2010-2018
The rear lights and therefore the bulbs are distributed in two groups. The first group is fixed to the boot lid. To remove it, open the boot and take off the cover from the inside. After unscrewing the two screws, you can extract the light assembly and, by leveraging the two clips, remove the bulb holder. Here you will find the reverse light and position light. Once you have replaced the bulbs, reinsert the bulb holder, the light assembly, and screw the nuts back, finally closing with the cover. The other bulbs are located in the light assembly at the corner of the bodywork. Again, you need to remove the cover from the inside and unscrew a white plastic screw. Once done, you can extract the component and disconnect the electrical connector. Now, using the clips and perhaps with the help of a screwdriver, extract the bulb holder. In this case, you can replace the indicator and brake light bulbs. Reinsert the bulb holder, reconnect the electrical connector, and reinsert the light into its housing. Screw the plastic screw back and reposition the cover. Car model: VW Jetta MK 6
Year: 2011-2016 Required tools: small flathead screwdriver, 10mm socket wrench.
Updated on 19 February 2026 by ScegliAuto
Video tutorial
Related tutorials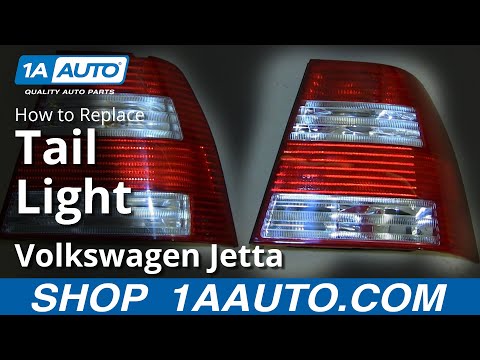
Volkswagen Jetta
(2005-2010 /
MK 5, A5)
Is the light on your car damaged? Let's look at removing the rear light of a VW Jetta. Open and lift the tailgate, access the luggage compartment sid…
Volkswagen Jetta
(2005-2010 /
MK 5, A5)
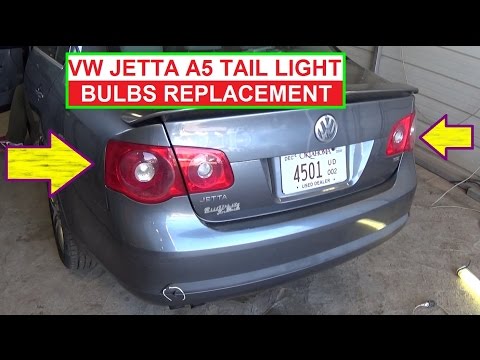
Below are the instructions that will allow you to remove and replace the bulbs of the rear headlight of the Volkswagen Jetta. First, open the boot li…
Volkswagen Jetta
(2005-2010 /
MK 5, A5)
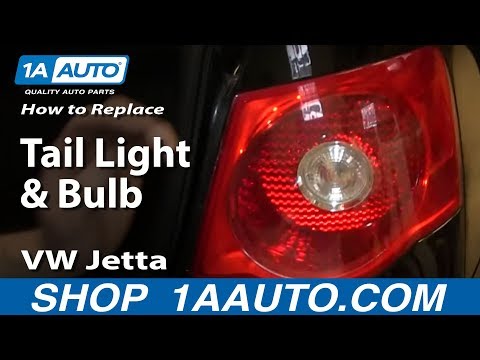
Let's look at how to remove the rear light of the VW Jetta. Lift the rear hatch and secure it, then remove the fabric cover that protects the boot li…
Other guides you may be interested in
|
Where is the Spare Wheel in the Peugeot 5008?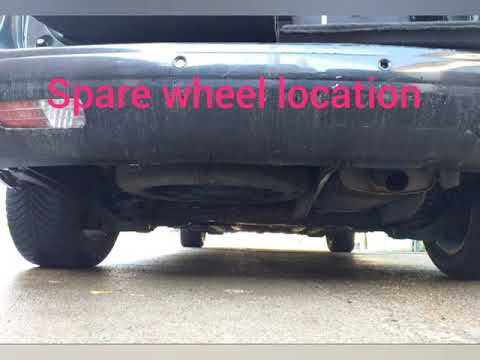
This video shows where the spare wheel is located in the Peugeot 5008 and how to access it, useful in case of a puncture. As shown, the wheel is not in the usual boot compartment but underneath it, outside the vehicle. To free the wheel, first gather the tools provided, then open the boot, locate the small indicated hatch, and open it. Next, loosen the bolt just released using the large socket wrench enough to lower the wheel to the ground. by ScegliAuto More videos
|
|
For advertising on this site Write to info@scegliauto.com
ScegliAuto is not responsible for any inaccuracy of the data in the lists. To report any inaccuracy or your business (if you own the business in question), please write to info@scegliauto.com
Number of seconds to generate the page: 0.163
(c) ScegliAuto 2026 - info@scegliauto.com - Privacy policy VAT number: IT01247470535 |
