
|
Do it yourself
| |||
| ||||


How to Remove the Glove Box and Lower Dashboard Panels on a Volkswagen Transporter T6
Model: Volkswagen Transporter
MK 6, T6
- Years 2014-2025
To remove the glove box and the lower part of the dashboard on a Volkswagen Transporter T6, start by removing the side panel of the dashboard thickness. You can do this by prying with a screwdriver and pulling the plastic panel towards you. Disconnect and reconnect the passenger airbag connector. There is no need to unscrew the glove box itself, as removing the side panel allows you to pull the entire lower dashboard assembly out by simply tugging on it. Now do the same on the driver's side - in this video, we see a right-hand drive, but the process is the same for a left-hand drive - then remove the cover of the side panel of the dashboard. Set the light switch to the vertical position and pull it towards you. Remove the connector and then pull the lower part of the dashboard towards you. Now lift the gear lever gaiter. There are screws that need to be removed, after which you can pull it towards you, not forgetting the connection for the cigarette lighter. So, everything is quite straightforward.
Updated on 13 August 2026 by ScegliAuto
Video tutorial
Related tutorials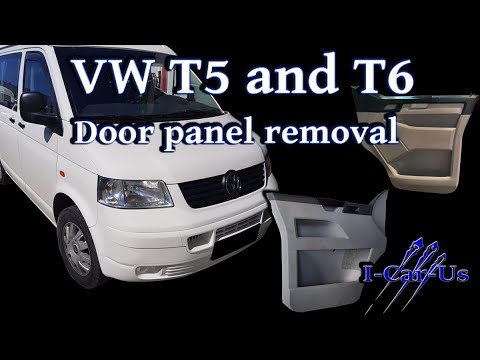
Volkswagen Transporter
(2003-2014 /
T5, MK 5)
Removing the door panel of the Volkswagen Transporter T5 model is a very simple operation, which can be done independently. To remove the panel, firs…

Volkswagen Transporter
(2003-2014 /
T5, MK 5)
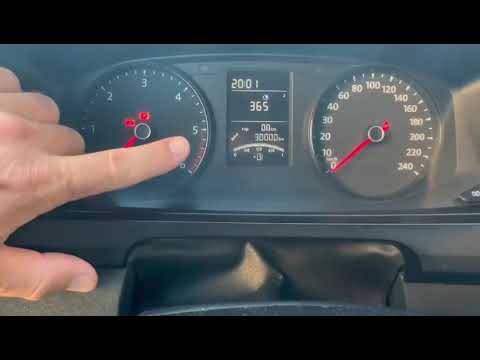
How do you reset the warning light on a Volkswagen Transporter? Let’s see how to reset the light that appears on the instrument cluster. Turn on the …
Volkswagen Transporter
(2014-2025 /
MK 6, T6)
To reset the Service light on the Volkswagen Transporter, press and hold the 0.0 button located on the right side of the vehicle's instrument cluster…
Other guides you may be interested in
|
How to Connect the Cables to the Battery of the Citroen Xsara Picasso?
In this tutorial, you will see how to connect the cables to the battery of the Citroen Xsara Picasso, useful if you need to recharge it or perform an emergency start. First, ensure the key is not inserted, then open the bonnet and move to the front of the left headlamp. Next, locate the bolt just behind the filter box and connect the positive terminal clamp to it. Now you can connect the negative terminal to any point on the chassis, such as the indicated point. Once the operation is complete, ensure you disconnect the negative first and then the positive. by ScegliAuto More videos
|
|
For advertising on this site Write to info@scegliauto.com
ScegliAuto is not responsible for any inaccuracy of the data in the lists. To report any inaccuracy or your business (if you own the business in question), please write to info@scegliauto.com
Number of seconds to generate the page: 0.228
(c) ScegliAuto 2026 - info@scegliauto.com - Privacy policy VAT number: IT01247470535 |
