
|
Do it yourself
| |||
| ||||


Replacement of Starter Motor
Model: Volkswagen Golf
Golf IV, MK 4, Golf 4
- Years 1997-2003
Before working on the starter motor, ensure the battery is intact and that the issue does not originate from it. Position the vehicle on ramps and remove the lower cover. Now, by opening the bonnet, you can access the solenoid after removing the battery and its support plate. The motor has 2 connectors; the first is a thick cable while the second is a smaller cable. Remove both and clean them to remove rust or other debris attached to them, as this could be the issue. Reconnect the battery and check its operation again. Disconnect the battery once more and all connectors around the starter motor, pulling out all cables that pass nearby. Now remove the bolt that secures the plastic collar containing all the cables. Finally, remove all the bolts securing the starter motor to the engine. The problem may be the solenoid, and replacing just that could save you some money. To test this, try connecting the cable to the bolt to its left instead of the main connector; if the motor turns without engaging the pinion, then the issue is the solenoid. You can replace the solenoid by freeing it from the screws and bolts present on it. Once you have checked the problems and replaced the necessary parts, reassemble everything, ensuring to follow the steps in the correct order.
Updated on 22 February 2026 by ScegliAuto
Video tutorial
Related tutorials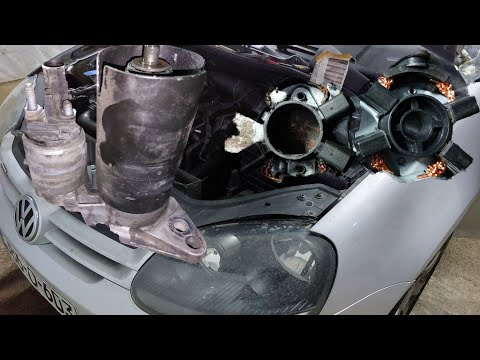
Volkswagen Golf
(2003-2008 /
MK 5, Golf 5, Golf V)
This guide outlines the procedure for removing and replacing the starter motor brushes on the Volkswagen Golf. First, open the bonnet of your car and…
Volkswagen Golf
(1991-1997 /
Golf III, MK 3, Golf 3)
The starter motor is located near the gearbox: before proceeding with disassembly, it is advisable to disconnect the battery to avoid short circuits.…

Volkswagen Golf
(1997-2003 /
Golf IV, MK 4, Golf 4)
Today, in this video tutorial, you will learn the procedure to remove and replace the starter motor brushes on the Volkswagen Golf. First, remove the…
Other guides you may be interested in
|
How to reset the tire pressure sensor of the Hyundai Tucson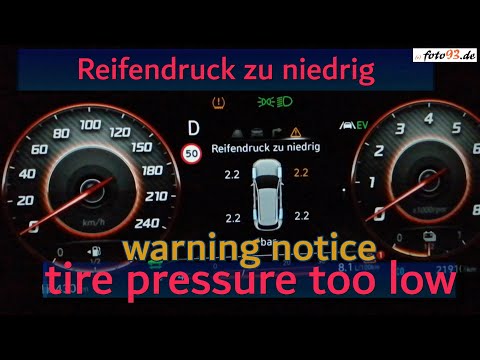
Below we will discover the instructions that will allow us to reset the tire pressure warning light (TPMS) of the Hyundai Tucson. First of all, we get into the car and turn on the instrument panel; then we go to the vehicle settings until we reach the tire pressure monitor, identifying the tire with the incorrect pressure. At this point, we proceed to restore all tire pressures, following the pattern indicated on the label; in this way the TPMS system will be reset and the warning light will be reset by the instrument panel! by ScegliAuto More videos
|
|
For advertising on this site Write to info@scegliauto.com
ScegliAuto is not responsible for any inaccuracy of the data in the lists. To report any inaccuracy or your business (if you own the business in question), please write to info@scegliauto.com
Number of seconds to generate the page: 0.106
(c) ScegliAuto 2026 - info@scegliauto.com - Privacy policy VAT number: IT01247470535 |
