
|
Do it yourself
| |||
| ||||


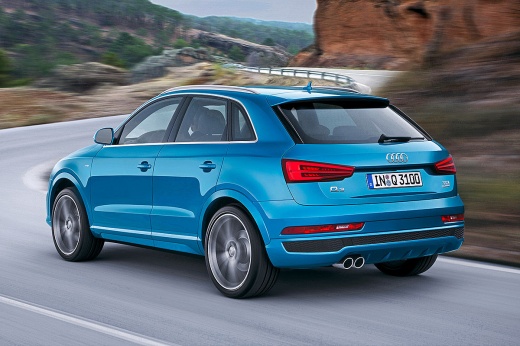
The correct method to properly warm up our car.
Model: Audi Q3
8U
- Years:
2011, 2012, 2013, 2014, 2015, 2016, 2017, 2018
Video tutorial
The video shows a very efficient method for heating the inside of the car as quickly as possible. We start the engine and drive: we don't stay idle at a standstill. The engine warms up much faster under load than in neutral, also reducing fuel consumption and wear. We activate the air recirculation: this is the main secret. By closing the external air intakes, the system heats the same air inside the cabin, which is already warmer than the outside air, allowing the temperature to rise more quickly. Then, by turning on the air conditioning, we will remove humidity, enabling us to feel the heat more effectively and comfortably. We set the fan to a medium-high speed; in fact, a fan that is too low does not distribute the heat well, while one that is too high can be uncomfortable. After the air has become warm, we deactivate the recirculation, or the air will become stale.
Posted on 29 November 2025 by ScegliAuto
Related tutorials
Audi Q3
(2011-2018 /
8U)
In today's tutorial, you will learn how to remove and replace the engine air filter on an Audi Q3 2.0 TDI, following the instructions below. First, o…

Audi Q3
(2011-2018 /
8U)
This useful video guide shows the method to reset the tire pressure warning light on an Audi Q3, second generation model produced from 2011 to 2018. …

Audi Q3
(2011-2018 /
8U)
In this video tutorial, you will learn how to disassemble and replace the battery of the key fob for the Audi Q3, following the instructions below. F…
Other guides you may be interested in
|
How to Remove the Rear Seat of a Hyundai Tucson?
To remove the rear seat of a Hyundai Tucson, follow these steps. Start by moving the front seats to their most forward position to gain space. Next, locate the release lever on the underside of the rear seat, near the floor. Press this lever down while pulling the seat upwards to unlock it from the anchor pins. Once unlocked, tilt the seat upwards and forwards to remove it from its position. Repeat this process for both sides of the rear seat. Be careful of any electrical cables or components that may be connected to the seat during removal. Once the rear seat is removed, the disassembly is complete. by ScegliAuto More videos
|
|
For advertising on this site Write to info@scegliauto.com
ScegliAuto is not responsible for any inaccuracy of the data in the lists. To report any inaccuracy or your business (if you own the business in question), please write to info@scegliauto.com
Number of seconds to generate the page: 0.027
(c) ScegliAuto 2026 - info@scegliauto.com - Privacy policy VAT number: IT01247470535 |
