
|
Do it yourself
| |||
| ||||


Maintenance of the Panoramic Roof on V.A.G. Group Vehicles
Model: Audi A3
8V, MK 3
- Years 2012-2019
Learn how to maintain the panoramic roof of a V.A.G. group vehicle. This accessory is not very common in Italy but is very convenient and satisfying if you have it. However, it must be maintained carefully: first, keep the guides clean with a cloth and a non-aggressive degreaser, such as isopropyl alcohol; if there are residues and dust, they must be removed, then lubricate with a specific grease like LiquiMoly 3312, which can be found on auto-doc.it for €14.18 + €9.95 shipping. Apply silicone grease to the glass seals to keep them elastic and prevent leaks; check for any obstructions on the front and rear sides with low-pressure air. On A3 and Golf models, there was a design flaw, causing the plastic frames to break; if damaged, they must be replaced to avoid leaks. This maintenance should be done every 12 months before winter to prevent water leaks.
Posted on 28 February 2026 by ScegliAuto
Video tutorial
Related tutorials
Audi A3
(2003-2013 /
MK 2, 8P)
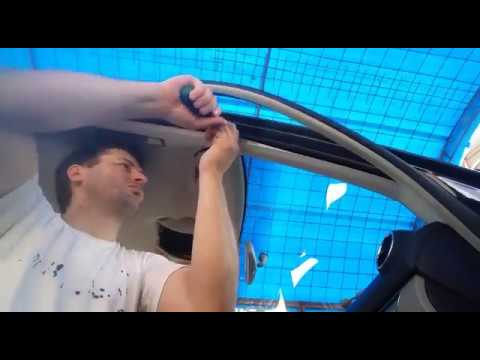
Today we will explain how to remove the roof of the vehicle to perform the replacement of the fabric lining on an Audi A3 car. Before replacing the u…
Audi A3
(2003-2013 /
MK 2, 8P)
How do you remove the roof panel (inner side) of an Audi A3? Start by removing the side handles of the headlining with a screwdriver, then remove the…

Audi A3
(2003-2013 /
MK 2, 8P)
Want to remove the covering panel of the Audi A3? Follow these steps to disassemble the components for panel removal. Remove the side handles above t…
Other guides you may be interested in |
Frequently Asked QuestionsHow to Remove the Front Bumper of the Citroën C4 Picasso?
To remove the front bumper of the Citroën C4 Picasso, you need to take out all the rivets and screws that secure the piece to its housing: these screws are located inside the wheel arches of the front wheels and at the central upper part of the bumper itself. Once all these fastening elements have been removed, you can detach the bumper from its seat by disconnecting the connectors inside and then insert the new replacement part. The new part can then be secured and connected properly, ensuring it is correctly fixed in place. by ScegliAuto More videos
|
|
For advertising on this site Write to info@scegliauto.com
ScegliAuto is not responsible for any inaccuracy of the data in the lists. To report any inaccuracy or your business (if you own the business in question), please write to info@scegliauto.com
Number of seconds to generate the page: 0.510
(c) ScegliAuto 2026 - info@scegliauto.com - Privacy policy VAT number: IT01247470535 |
