
|
Do it yourself
| |||
| ||||


Video tutorial
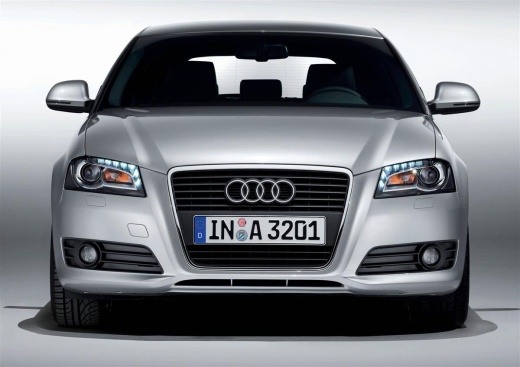
This video is aimed at forgetful people and Audi owners in general. The video humorously recounts an experience that can happen to anyone: forgetting to close the fuel cap after refuelling. The lanyard (a often underestimated accessory) prevents the cap from falling or being lost by attaching it to the valve or fuel flap. Unfortunately, the lanyard degrades due to exposure to sunlight, heat, and petrol vapours and needs to be replaced before it breaks completely. To remove it, take off the metal clips that secure it to the cap. The new lanyard, complete with a sealing ring, can also be found on Amazon with code B0BW5TKC31 for £5.99 with free delivery.
Posted on 14 September 2026 by ScegliAuto
Related tutorials
Audi A3
(2012-2019 /
8V, MK 3)
How to open the fuel flap on an Audi A3? Open the fuel flap located on the left side of the car's body by pressing on it with your finger. Once you l…

Audi A3
(2003-2013 /
8P, MK 2)
This video shows how to replace a standard fuel cap on an Audi A3 8P with a quick-fill cap, similar to those fitted as standard on Ford vehicles, kno…

Audi A3
(2020-2026 /
MK 4, 8Y)
It will be possible to completely make the AdBlue light of the Audi A3 disappear by refilling with the necessary amount of additional fluid: to refil…
Other guides you may be interested in
|
How to Remove the Rear Seat of a Hyundai Tucson?
To remove the rear seat of a Hyundai Tucson, follow these steps. Start by moving the front seats to their most forward position to gain space. Next, locate the release lever on the underside of the rear seat, near the floor. Press this lever down while pulling the seat upwards to unlock it from the anchor pins. Once unlocked, tilt the seat upwards and forwards to remove it from its position. Repeat this process for both sides of the rear seat. Be careful of any electrical cables or components that may be connected to the seat during removal. Once the rear seat is removed, the disassembly is complete. by ScegliAuto More videos
|
|
For advertising on this site Write to info@scegliauto.com
ScegliAuto is not responsible for any inaccuracy of the data in the lists. To report any inaccuracy or your business (if you own the business in question), please write to info@scegliauto.com
Number of seconds to generate the page: 0.016
(c) ScegliAuto 2026 - info@scegliauto.com - Privacy policy VAT number: IT01247470535 |
