
|
Do it yourself
| |||
| ||||


How to Change the Trim Strips on an Audi A3 MK3
Let's see how to change the trim strips on an Audi A3 MK3. You can purchase the strips on Amazon. The complete kit costs £91.75 (including delivery) and also includes the console trims. Changing those on the dashboard is very simple, as you just need to remove the central radio control panel; the strips are held in place by clips and can be easily pulled off and reinserted. It's a bit more complicated for the doors, as the panels need to be removed. You must take off the speaker panel by removing the three screws underneath. Then, the panel should come off with a bit of gentle force. Disconnect the connectors, unscrew the two screws at the back, and with slight pressure, remove the trim strip you intend to change. Apply the new trim strip. Naturally, the process is the same for all four doors.
Updated on 9 August 2026 by ScegliAuto
Video tutorial
Related tutorials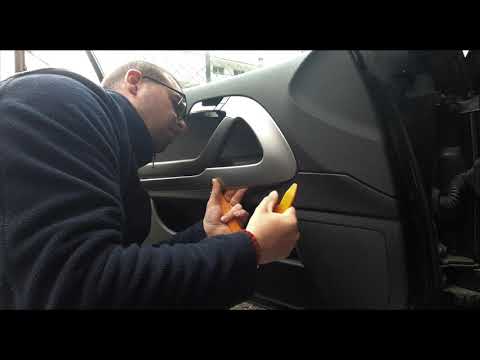
Audi A3
(2003-2013 /
MK 2, 8P)
In today's video, see how to remove the trims on the Audi A3. Specifically, we refer to the chrome pieces on the door panel, the handles, and the cen…
Audi A3
(2012-2019 /
8V, MK 3)
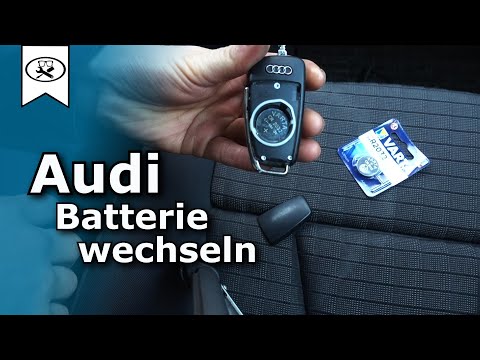
How do you change the battery of an Audi A3 remote key? Let's see how to change the key battery. Take your remote key and use a screwdriver to pry op…

Audi A3
(2003-2013 /
MK 2, 8P)
In this video we can see how to change the battery in an Audi A3 version 8P: we open the hood; the battery is located on the right side of the engine…
Other guides you may be interested in
|
How to Replace the Remote Battery for the Volvo XC40?
In this tutorial, you will see how to replace the battery in the remote for the Volvo XC40, a very simple and quick operation. For this, you will need a replacement battery of type CR2032 and possibly a small flathead screwdriver. First, remove the front cover by pressing the button on the metal ring, then locate the second button, press it as well, and remove the opposite cover. Next, open the circular cap, take out the old battery, and insert the new one in the opposite direction. Finally, reassemble everything. by ScegliAuto More videos
|

|
For advertising on this site Write to info@scegliauto.com
ScegliAuto is not responsible for any inaccuracy of the data in the lists. To report any inaccuracy or your business (if you own the business in question), please write to info@scegliauto.com
Number of seconds to generate the page: 0.153
(c) ScegliAuto 2026 - info@scegliauto.com - Privacy policy VAT number: IT01247470535 |
