
|
Do it yourself
| |||
| ||||


BMW Serie 5 - Accessory kitAccessory Kit BMW Serie 5 (2003-2010 / e 61, e 60) BMW Serie 5 (1995-2003 / E39)
How to Install a Seat Cover Kit If you want to protect and customize your car, you can install seat covers. This operation is relatively simple and may vary slightly from one car model to …Read all… Posted on 27 February 2026 by ScegliAuto 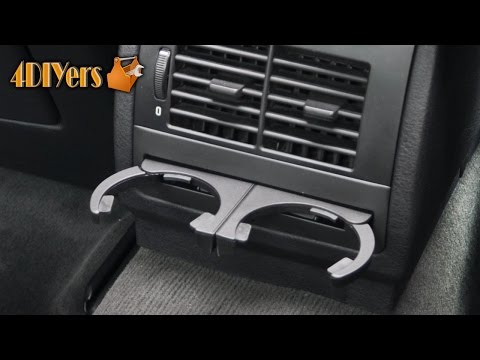 BMW Serie 5 (1995-2003 / E39)
Installing Rear Food Tray The food tray holder is located at the rear of the center console, just below the air vents, and is simply snap-fitted; it is a particularly complex system …Read all… Posted on 26 February 2026 by ScegliAuto 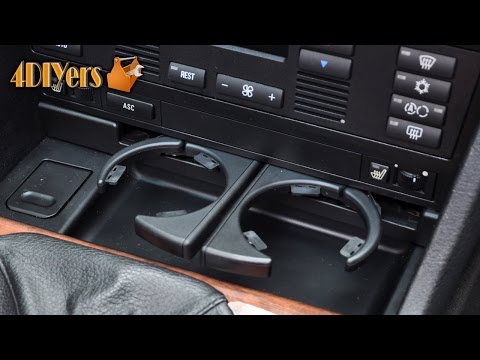 BMW Serie 5 (1995-2003 / E39)
Replacing the Cup Holder At the base of the center console, just below the climate control buttons, is the cup holder: a useful accessory that can hold up to two cups; the practicality …Read all… Posted on 25 February 2026 by ScegliAuto  BMW Serie 5 (1995-2003 / E39)
Install LED Lights in Your Car LEDs are small, inexpensive, and different colored lights that can be turned on and off intermittently. These lights are a great solution for decorating the …Read all… Posted on 24 February 2026 by ScegliAuto 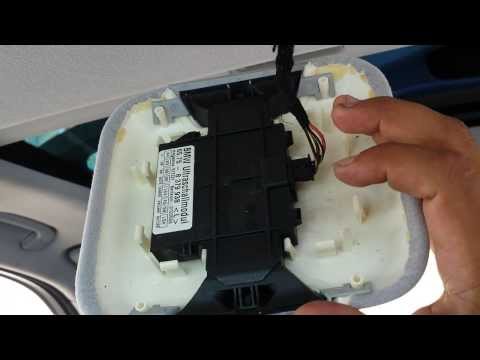 BMW Serie 5 (1995-2003 / E39)
Removing the Ultrasound Alarm Sensor The alarm system in BMW vehicles integrates an ultrasound sensor for cabin protection and acts as a true motion sensor: it emits ultrasound waves, and if …Read all… Posted on 23 February 2026 by ScegliAuto  BMW Serie 5 (1995-2003 / E39)
Guide to Replacing the Cup Holder The following guide shows how to remove the cup holder in your car. This operation is surprisingly simple. First, open the cup holder. Then, use a finger to …Read all… Posted on 20 February 2026 by ScegliAuto 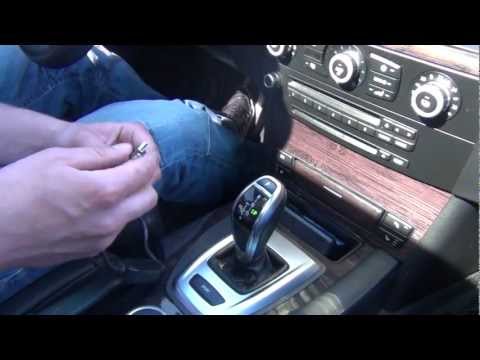 BMW Serie 5 (2003-2010 / E61, E60)
Installing AUX/USB Cable on Factory Radio This video shows how to install the AUX/USB cable on a factory radio. First, obtain the correct cable compatible with your radio and connect it via USB; the …Read all… Posted on 16 February 2026 by ScegliAuto 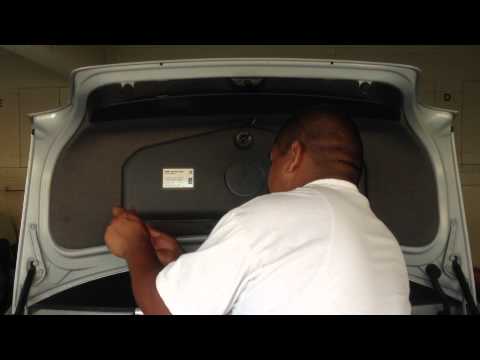 BMW Serie 5 (1995-2003 / E39)
Installing LED on the Rear Logo This video shows how to mount the LED light behind the BMW logo. The operation is performed on a BMW 5 Series. In this case, the operation has already been …Read all… Posted on 15 February 2026 by ScegliAuto 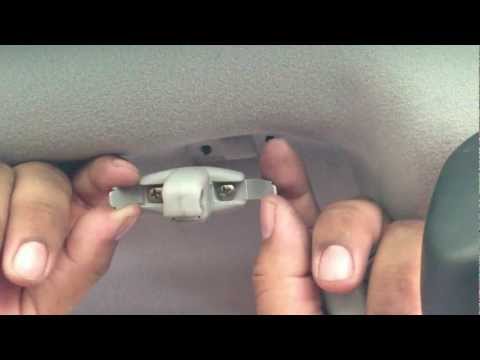 BMW Serie 5 (1995-2003 / E39)
Installing a Sun Visor Bracket The sun visor device installed on the headliner is secured through two brackets: one external (on the door side) with a hinge that allows the visor to lower …Read all… Posted on 15 February 2026 by ScegliAuto 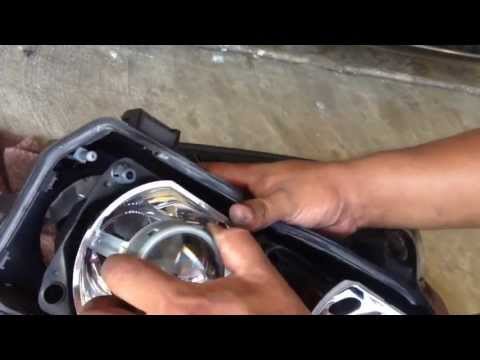 BMW Serie 5 (1995-2003 / E39)
Guide to Installing a Xenon Kit This guide shows how to install a xenon kit without causing damage. Ensure that the bulbs do not break or scratch during installation. Do not touch the bulbs …Read all… Posted on 14 February 2026 by ScegliAuto 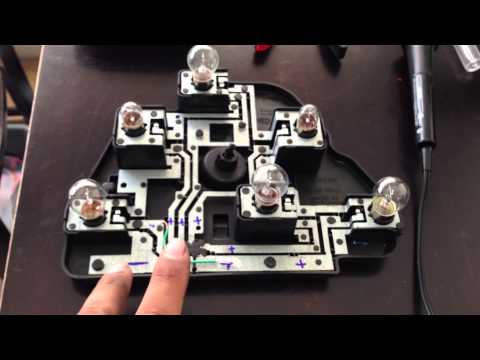 BMW Serie 5 (1995-2003 / E39)
Instructions for Adding a Rear Brake Light The rear light has the original brake light on the outer part of the light itself, while the inner part, facing the hood closure, is a simple reflector but can …Read all… Posted on 14 February 2026 by ScegliAuto 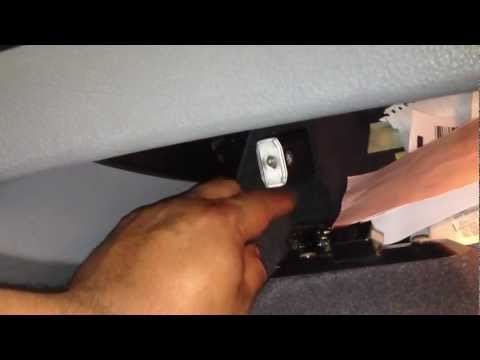 BMW Serie 5 (1995-2003 / E39)
Auxiliary Power Adapter The auxiliary power adapter allows you to power a wide range of electronic devices. It plugs into the portable flashlight socket located in the glove …Read all… Posted on 14 February 2026 by ScegliAuto 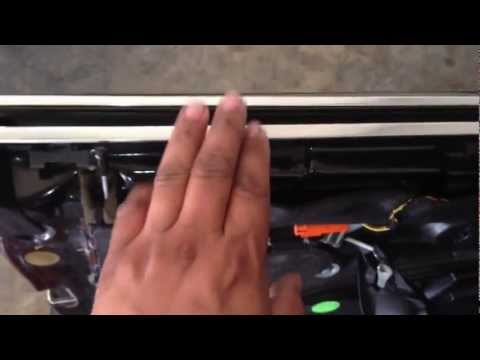 BMW Serie 5 (1995-2003 / E39)
How to Install Interior Trim Near the Window If you want to replace the interior trim of your BMW 5 Series, you must first deal with the panel located at the top of the door. It is attached with clips to …Read all… Posted on 13 February 2026 by ScegliAuto 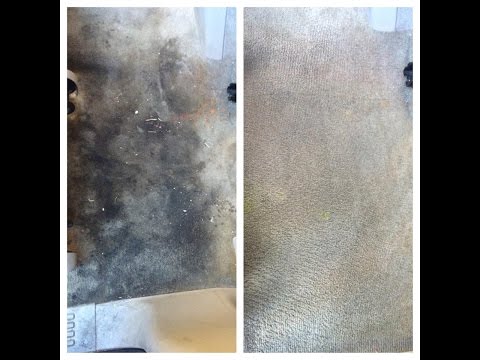 BMW Serie 5 (1995-2003 / E39)
Method for Cleaning Interiors This video teaches a technique for cleaning the "fabric floor" of the vehicle, which in this case is a BMW 5 Series. Once you remove the floor mats, spray some …Read all… Posted on 13 February 2026 by ScegliAuto 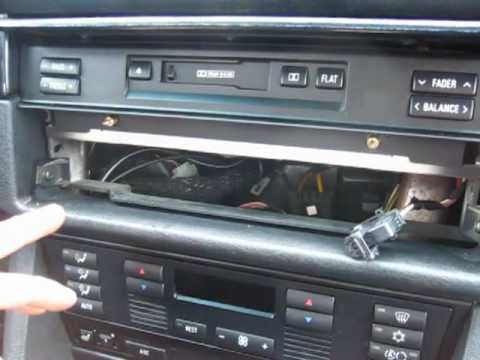 BMW Serie 5 (1995-2003 / E39)
Installing AUX IN Adapter for iPod Remove the volume control knob and locate the hole to insert the key to release the retaining spring by turning it: once released, disconnect the display …Read all… Posted on 7 February 2026 by ScegliAuto Accessory Kit BMW Serie 5 (1995-2003 / e 39)
BMW Serie 5 (1995-2003 / E39)How to Install a Seat Cover Kit If you want to protect and customize your car, you can install seat covers. This operation is relatively simple and may vary slightly from one car model to …Read all… Posted on 27 February 2026 by ScegliAuto
BMW Serie 5 (1995-2003 / E39)Installing Rear Food Tray The food tray holder is located at the rear of the center console, just below the air vents, and is simply snap-fitted; it is a particularly complex system …Read all… Posted on 26 February 2026 by ScegliAuto
BMW Serie 5 (1995-2003 / E39)Replacing the Cup Holder At the base of the center console, just below the climate control buttons, is the cup holder: a useful accessory that can hold up to two cups; the practicality …Read all… Posted on 25 February 2026 by ScegliAuto
BMW Serie 5 (1995-2003 / E39)Install LED Lights in Your Car LEDs are small, inexpensive, and different colored lights that can be turned on and off intermittently. These lights are a great solution for decorating the …Read all… Posted on 24 February 2026 by ScegliAuto
BMW Serie 5 (1995-2003 / E39)Removing the Ultrasound Alarm Sensor The alarm system in BMW vehicles integrates an ultrasound sensor for cabin protection and acts as a true motion sensor: it emits ultrasound waves, and if …Read all… Posted on 23 February 2026 by ScegliAuto
BMW Serie 5 (1995-2003 / E39)Guide to Replacing the Cup Holder The following guide shows how to remove the cup holder in your car. This operation is surprisingly simple. First, open the cup holder. Then, use a finger to …Read all… Posted on 20 February 2026 by ScegliAuto
BMW Serie 5 (2003-2010 / E61, E60)Installing AUX/USB Cable on Factory Radio This video shows how to install the AUX/USB cable on a factory radio. First, obtain the correct cable compatible with your radio and connect it via USB; the …Read all… Posted on 16 February 2026 by ScegliAuto
BMW Serie 5 (1995-2003 / E39)Installing LED on the Rear Logo This video shows how to mount the LED light behind the BMW logo. The operation is performed on a BMW 5 Series. In this case, the operation has already been …Read all… Posted on 15 February 2026 by ScegliAuto
BMW Serie 5 (1995-2003 / E39)Installing a Sun Visor Bracket The sun visor device installed on the headliner is secured through two brackets: one external (on the door side) with a hinge that allows the visor to lower …Read all… Posted on 15 February 2026 by ScegliAuto
BMW Serie 5 (1995-2003 / E39)Guide to Installing a Xenon Kit This guide shows how to install a xenon kit without causing damage. Ensure that the bulbs do not break or scratch during installation. Do not touch the bulbs …Read all… Posted on 14 February 2026 by ScegliAuto
BMW Serie 5 (1995-2003 / E39)Instructions for Adding a Rear Brake Light The rear light has the original brake light on the outer part of the light itself, while the inner part, facing the hood closure, is a simple reflector but can …Read all… Posted on 14 February 2026 by ScegliAuto
BMW Serie 5 (1995-2003 / E39)Auxiliary Power Adapter The auxiliary power adapter allows you to power a wide range of electronic devices. It plugs into the portable flashlight socket located in the glove …Read all… Posted on 14 February 2026 by ScegliAuto
BMW Serie 5 (1995-2003 / E39)How to Install Interior Trim Near the Window If you want to replace the interior trim of your BMW 5 Series, you must first deal with the panel located at the top of the door. It is attached with clips to …Read all… Posted on 13 February 2026 by ScegliAuto
BMW Serie 5 (1995-2003 / E39)Method for Cleaning Interiors This video teaches a technique for cleaning the "fabric floor" of the vehicle, which in this case is a BMW 5 Series. Once you remove the floor mats, spray some …Read all… Posted on 13 February 2026 by ScegliAuto
BMW Serie 5 (1995-2003 / E39)Installing AUX IN Adapter for iPod Remove the volume control knob and locate the hole to insert the key to release the retaining spring by turning it: once released, disconnect the display …Read all… Posted on 7 February 2026 by ScegliAuto Accelerator (1) Cigarette lighter (2) Airbag (2) Alternator (7) Speaker (4) Shocks (4) Air conditioning (7) Car stereo (8) Anti-roll bar (1) Battery (17) Ignition coil (1) Air vents (8) Bushings (2) Control arm (3) Transmission (9) Spark plugs (6) Glow plugs (1) Carburetor (1) Body (35) Glove compartment (2) Snow chains (1) Control unit (5) Wheel rim (1) Key (51) Trunk lock (1) Timing belt (12) V-belt (8) Air conditioner (2) A/C controls (2) Onboard computer (9) Checks and maintenance (37) Throttle body (4) Dashboard (9) Bearing (6) Brake rotors (2) Rear bench seat (3) Electric cooling fan (1) Side marker light (2) Headlight (27) Tail light (3) Fog lights (3) Diesel particulate filter (1) Air filter (8) Cabin air filter (20) Fuel filter (3) Diesel fuel filter (3) Oil filter (2) Parking brake (2) Grille (2) Fuel injectors (1) Accessory kit (15) Light bulb (8) Side marker bulb (1) Headlight bulb (20) Tail light bulb (2) Interior dome light bulb (8) Antifreeze coolant (11) License plate light (3) (1) Rear window (1) Handle (15) Trim cover (1) Engine (30) Power window motor (8) Starter motor (1) Transmission fluid (4) Brake fluid (2) Engine oil (5) Power steering fluid (3) Clock (6) Door trim panel (30) Windshield (1) Front bumper (4) Rear bumper (2) Brake pads (5) Hydraulic pistons (2) Tires (3) Shift knob (6) Pump (6) Fuel pump (5) Car door (4) Push button (1) Instrument cluster (2) Radiator (10) Wheel (4) Fuse box (64) Seat (25) Crankshaft position sensor (3) Parking sensors (1) Door lock (1) Oxygen sensor (1) Suspension system (1) Side mirror (16) Rearview mirror (3) AdBlue warning light (3) Warning light – error code (36) (13) Tire pressure warning light (4) Service warning light (69) Manufacturer emblem (1) Fuel cap (6) Windshield wipers (15) Thermostat (9) Drivetrain (1) Center console tunnel (6) Turbocharger (1) Valve (6) EGR valve (3) Blower motor (7) Side window (3) Steering wheel (2) |
How to Connect the Cables to the Battery of the Citroen Xsara Picasso?
In this tutorial, you will see how to connect the cables to the battery of the Citroen Xsara Picasso, useful if you need to recharge it or perform an emergency start. First, ensure the key is not inserted, then open the bonnet and move to the front of the left headlamp. Next, locate the bolt just behind the filter box and connect the positive terminal clamp to it. Now you can connect the negative terminal to any point on the chassis, such as the indicated point. Once the operation is complete, ensure you disconnect the negative first and then the positive. by ScegliAuto More videos
|
|
For advertising on this site Write to info@scegliauto.com
ScegliAuto is not responsible for any inaccuracy of the data in the lists. To report any inaccuracy or your business (if you own the business in question), please write to info@scegliauto.com
Number of seconds to generate the page: 0.012
(c) ScegliAuto 2026 - info@scegliauto.com - Privacy policy VAT number: IT01247470535 |
