
|
Do it yourself
| |||
| ||||


How to Extend the Lifespan of Your Climate Control Buttons
Model: BMW Serie 5
E39
- Years 1995-2003
This tutorial explains the method to preserve the lifespan of the buttons on a BMW 5 Series climate control system. The video shows a button already removed that has two small cracks that could compromise its function. If the buttons are still in good condition, they can be treated with the method we will see and then reinstalled. If they are completely broken, they will need to be replaced; even new buttons can receive the treatment we will discuss. Obtain the adhesives shown: mix some of the white with the black (hardener + steel) until you get a gray compound. Apply it to the back of the button using a toothpick, but only in the center, not on the outer sides. Wait for it to dry (6 to 10 minutes). Now the button has been reinforced because there is no air inside. This method can also be used for other buttons.
Updated on 9 February 2026 by ScegliAuto
Video tutorial
Related tutorials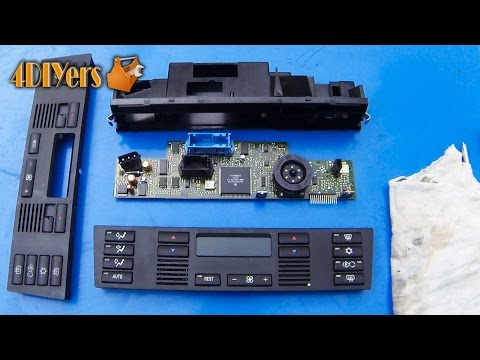
BMW Serie 5
(1995-2003 /
E39)
If some of the climate control buttons are damaged, you can replace the complete front panel with buttons. Start by removing the climate control unit…
BMW Serie 5
(1995-2003 /
E39)
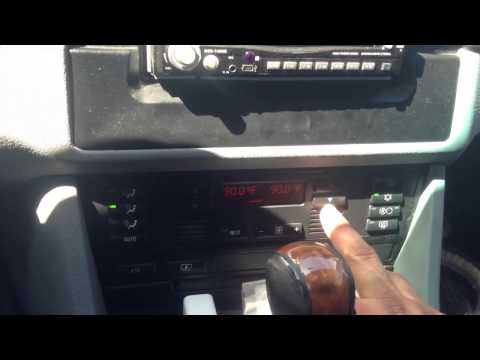
This brief tutorial provides tips for the proper and effective use of the air conditioning system in a BMW 5 Series. First, it is recommended to use …
BMW Serie 5
(1995-2003 /
E39)
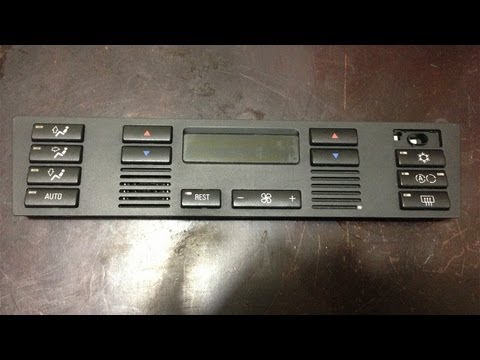
Replacing the air conditioning control buttons is extremely simple and can be done directly in the vehicle, but for convenience, it is suggested to r…
Other guides you may be interested in |
How to Replace the Remote Battery for the Volvo XC40?
In this tutorial, you will see how to replace the battery in the remote for the Volvo XC40, a very simple and quick operation. For this, you will need a replacement battery of type CR2032 and possibly a small flathead screwdriver. First, remove the front cover by pressing the button on the metal ring, then locate the second button, press it as well, and remove the opposite cover. Next, open the circular cap, take out the old battery, and insert the new one in the opposite direction. Finally, reassemble everything. by ScegliAuto More videos
|
|
For advertising on this site Write to info@scegliauto.com
ScegliAuto is not responsible for any inaccuracy of the data in the lists. To report any inaccuracy or your business (if you own the business in question), please write to info@scegliauto.com
Number of seconds to generate the page: 0.073
(c) ScegliAuto 2026 - info@scegliauto.com - Privacy policy VAT number: IT01247470535 |
