
|
Do it yourself
| |||
| ||||


How to Install a Navigation System in a BMW X3
Model: BMW X3
MK 1, E83
- Years 2003-2010
To install a navigation system in a BMW X3 that doesn't have one, remove the central air vents using a plastic tool to pry them off, disconnecting the various connectors and the air outlet cable. Once the central vents are removed, unscrew the 2 screws holding the upper glove compartment and take it out. After removing the glove compartment, unscrew the 2 screws securing the plastic panel that holds the climate control buttons, removing it with the help of a plastic tool and disconnecting the various connectors. With the plastic panel removed, unscrew the 2 screws holding the radio controls, pull it out, and disconnect the various connectors. To install the navigation system, connect the various connectors from the navigation system to the radio controls, routing the wires through the holes in the plastics, and reverse the procedure used for disassembly, installing the navigation system in place of the upper glove compartment. Finally, test the new navigation system and the controls.
Updated on 21 June 2026 by ScegliAuto
This video is currently unavailable
Related tutorials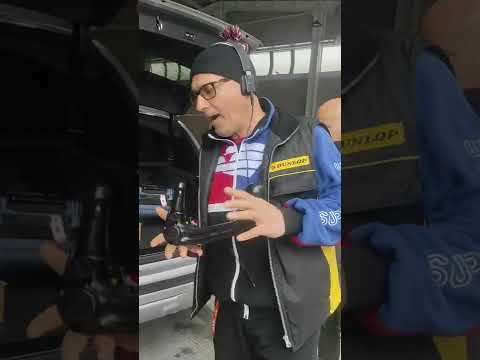
BMW X3
(2017-2024 /
MK 3, G01)
This video shows how to install the trailer hitch on the BMW X3. This procedure is very simple and quick to perform. To install the trailer hitch on …

BMW X3
(2017-2024 /
MK 3, G01)
In this very short tutorial today, we can see how to set a new time on a BMW X3, a model produced from 2017 to 2024. Let's start by turning on the ca…

BMW X3
(2017-2024 /
MK 3, G01)
In this tutorial we can see how to replace the SOS system battery in the BMW X3, a simple operation that requires good manual skills. First of all, m…
Other guides you may be interested in
|
How to Check the Oil Level on a Jeep Renegade?
To check the oil level on a Jeep Renegade, you need to open the bonnet to access the components inside the engine bay: on the lower left side of the engine block, you will find the dipstick for checking the level. This should be pulled out and thoroughly cleaned with a cloth: once cleaned, reinsert it back into its tube and pull it out immediately after. This way, you can check that the oil mark is between the minimum and maximum levels; finally, you can place the dipstick back in its tube. by ScegliAuto More videos
|

|
For advertising on this site Write to info@scegliauto.com
ScegliAuto is not responsible for any inaccuracy of the data in the lists. To report any inaccuracy or your business (if you own the business in question), please write to info@scegliauto.com
Number of seconds to generate the page: 0.632
(c) ScegliAuto 2026 - info@scegliauto.com - Privacy policy VAT number: IT01247470535 |
