
|
Do it yourself
| |||
| ||||


Filling the Coolant Reservoir
Model: BMW Serie 3
E46
- Years 1998-2006
When filling the cooling system with the appropriate antifreeze, one risk is the formation of air bubbles that can compromise the efficiency of the cooling system. Therefore, observe some precautions; a very effective strategy is to open the bleed screw located on the hose just behind the fill cap of the reservoir. Additionally, turn on the ignition and activate the cabin heater with the temperature and fan set to maximum. This way, the electric pump will circulate the fluid during the filling phase, helping to expel air bubbles. Fill the reservoir until fluid flows continuously from the bleed screw without the formation of air bubbles. Adjust the level, and if you have a hydrometer, check that the coolant mixture is correct.
Updated on 16 February 2026 by ScegliAuto
Video tutorial
Related tutorials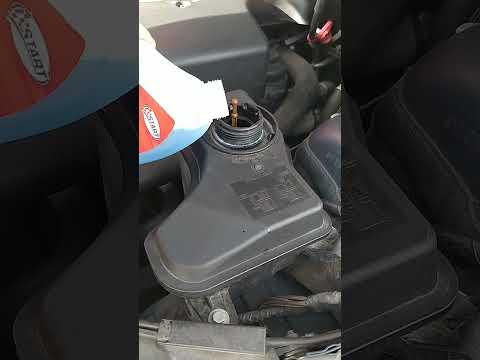
BMW Serie 3
(2005-2013 /
E91, E90, E92)
To top up the coolant in the BMW 320, start by opening the hood, releasing it from the internal lever. Once the hood is open, locate the coolant rese…
BMW Serie 3
(2005-2013 /
E91, E90, E92)
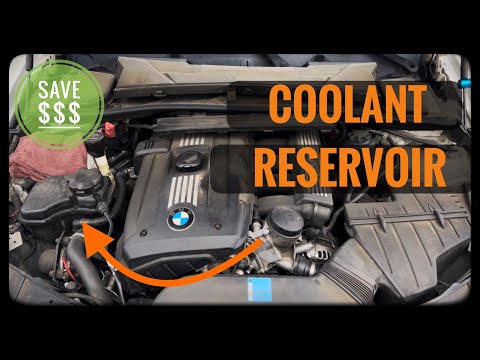
Today, you will see the instructions to remove and replace the coolant reservoir on a BMW 3 Series. First, open the hood of the vehicle and start uns…
BMW Serie 3
(2005-2013 /
E91, E90, E92)
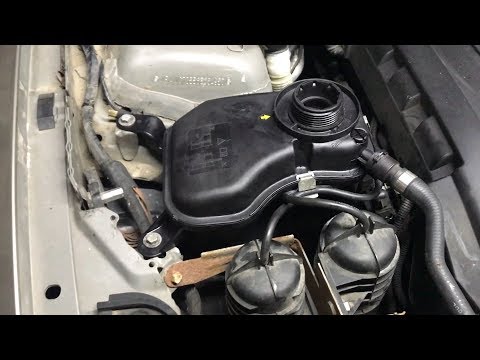
Is the coolant reservoir on your BMW 3 Series damaged and needs replacement? Let's see how to remove it. Open the car door and pull up the hood relea…
Other guides you may be interested in
|
How to Adjust the Brightness of the Instrument Cluster on a Peugeot 3008?
To adjust the brightness of the instrument cluster on a Peugeot 3008, you need to turn on the ignition and access the settings via the menu located in the central area of the dashboard. In the screen that appears, select the "Display Configuration" option: now, by selecting the "Brightness" option, you can adjust it using the dedicated slider that will appear on the screen. The adjustment should be made with the headlights on as well as with them off. Once the adjustment is complete, you can turn off the instrument cluster. by ScegliAuto More videos
|
|
For advertising on this site Write to info@scegliauto.com
ScegliAuto is not responsible for any inaccuracy of the data in the lists. To report any inaccuracy or your business (if you own the business in question), please write to info@scegliauto.com
Number of seconds to generate the page: 0.573
(c) ScegliAuto 2026 - info@scegliauto.com - Privacy policy VAT number: IT01247470535 |
