
|
Do it yourself
| |||
| ||||


Removing the Plastic Shelf Between the Rear Seat and the Rear Window
Model: BMW Serie 5
E39
- Years 1995-2003
First, remove the side dome light using a plastic trim tool (after disconnecting the power supply) above the rear seat back. Remove the headrests from the rear seat back. Remove the side plastic trim and the speaker covers from the shelf behind the rear seat back. Remove the seat cushion (simply clipped in) and the rear seat back (to do this, unscrew the two bolts securing it in place). Remove the seat belts by unscrewing the appropriate bolts. Finally, unscrew the 4 central bolts that secure the plastic shelf in place and extract it from its position. The maintenance operation shown in the images is performed on a BMW 5 Series.
Updated on 20 February 2026 by ScegliAuto
Video tutorial
Related tutorials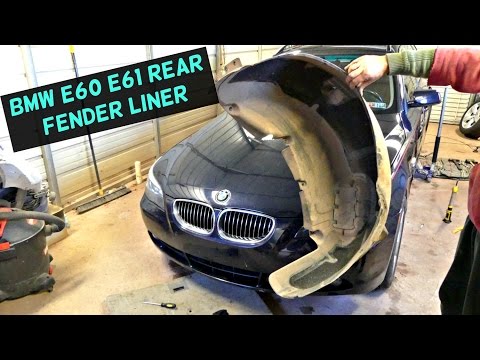
BMW Serie 5
(2003-2010 /
E60, E61)
First, lift the rear of the car with a jack and remove the rear wheel corresponding to the plastic inner liner of the fender to be removed. At this p…
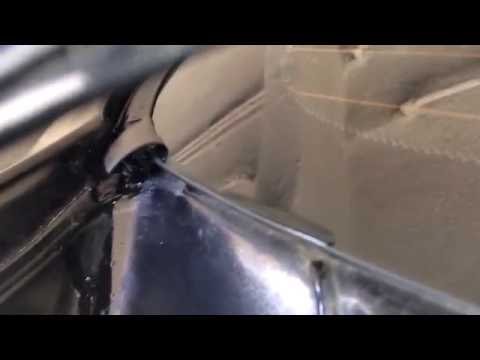
BMW Serie 5
(1995-2003 /
E39)
To replace the rear window seal, first remove the corner segments at each corner. Then, carefully lift and pull out the actual seal with all necessar…
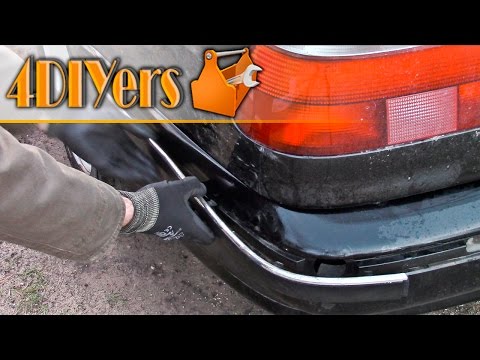
BMW Serie 5
(1995-2003 /
E39)
The rear bumper is equipped with rubber trim that also has a chrome insert: these trims serve to protect the bumper from parking contacts and are an …
Other guides you may be interested in
|
Removing the Timing Belt on a Suzuki Vitara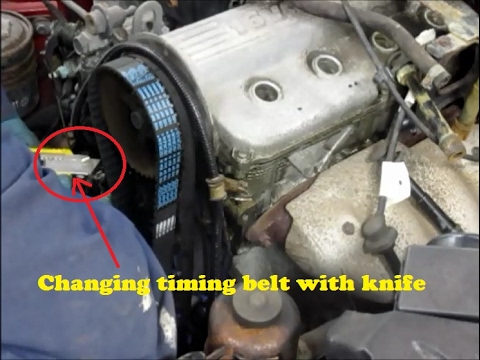
In this video, see the removal and replacement of the timing belt and water pump on a Suzuki Vitara. Open the bonnet and lift it, securing it in place. Use a socket wrench to remove the cooling radiator along with the associated hoses. Disconnect the power wiring using pliers, and remove the plastic undertray with a screwdriver. Use a spanner to loosen the tensioner pulley and slide the belt off its seat. Use a socket wrench to unscrew the tensioner pulley bolt, and remove the water pump as shown in the video. Fit the new water pump, the tensioner, and the belt itself, tightening everything with the socket wrench. Finally, reinstall the radiator with the securing bolts. by ScegliAuto More videos
|
|
For advertising on this site Write to info@scegliauto.com
ScegliAuto is not responsible for any inaccuracy of the data in the lists. To report any inaccuracy or your business (if you own the business in question), please write to info@scegliauto.com
Number of seconds to generate the page: 0.072
(c) ScegliAuto 2026 - info@scegliauto.com - Privacy policy VAT number: IT01247470535 |