
|
Do it yourself
| |||
| ||||


How to Restore the Color of a Worn Dashboard
Model: BMW Serie 3
E92, E90, E91
- Years 2005-2013
I will explain how to restore part of your dashboard and various accessories in your car. First, gather a screwdriver and a trim removal tool kit. Let's get started! Use a trim tool to remove the dashboard plastics, then remove the screws from both pieces. After removing the screws, use a trim tool to help pull everything out more easily. Once all plastics are removed, use appropriate scrapers and sandpaper to work on them without removing the old fabric and color, achieving a rough result. Now, get a spray can that matches the color of your interior, clean the pieces to be painted perfectly, leaving no dust, etc. Apply a coat of primer for paint, and after it dries, you can paint everything; once the job is done, your dashboard will look like new. Now you can reassemble everything.
Updated on 26 February 2026 by ScegliAuto
Video tutorial
Related tutorials
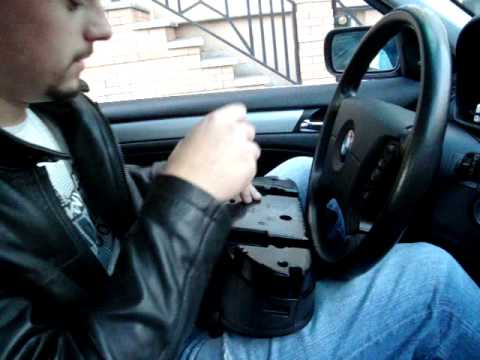
BMW Serie 3
(2005-2013 /
E92, E90, E91)
In this video, the YouTuber shows us how to improve the dashboard of a BMW 3 Series E90/91, which was gray and worn, by replacing these parts with a …
BMW Serie 3
(1998-2006 /
E46)
Removing the instrument cluster from the dashboard is a seemingly simple task, but it must be done carefully to avoid damage. Using a screwdriver, re…
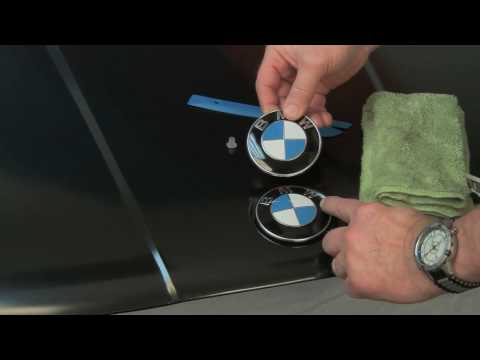
BMW Serie 3
(1990-2001 /
E36)
If you want to replace the manufacturer emblem, follow these steps. Use a plastic tool to avoid damaging the bodywork. Place a cloth near the logo to…
Other guides you may be interested in
|
How to Replace the Diesel Filter on a Dacia Duster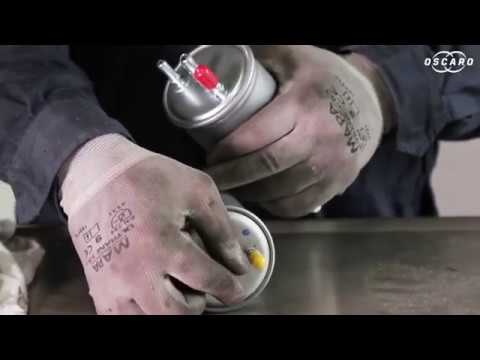
Let's see how to replace the diesel filter on a Dacia Duster. Start by removing the plastic cover at the bottom of the bumper with a suitable screwdriver (remove the circle), then reach the front headlamp located in the bumper (as shown in the video). After removing the container, take out the filter inside and fit a new one (same size). Refit the container and the plastic cover under the car's bumper with the attached clips. Test the proper functioning. Refit the front circle with the securing clips and lower the car. by ScegliAuto More videos
|

|
For advertising on this site Write to info@scegliauto.com
ScegliAuto is not responsible for any inaccuracy of the data in the lists. To report any inaccuracy or your business (if you own the business in question), please write to info@scegliauto.com
Number of seconds to generate the page: 0.052
(c) ScegliAuto 2026 - info@scegliauto.com - Privacy policy VAT number: IT01247470535 |