
|
Do it yourself
| |||
| ||||


Chrysler Pt Cruiser - Video tutorial
Model: Chrysler Pt Cruiser
MK 1
- Years 2000-2010 The disassembly of the front bumper is extremely simple to carry out: it is a matter of unscrewing the relative fixing screws; start by opening the front hood to unscrew the front fixing screws with a 7 mm ball wrench; then move on to the wheel arches by releasing the pressure brakes that fix the wheel arch to the edge of the bumper in order to access the fixing nuts of the side of the bumper to the mudguard; repeat the same step on the other side as well and unhook the bumper from its seat to complete its disassembly: pay attention to the internal grille.
Posted on 23 August 2023 by ScegliAuto
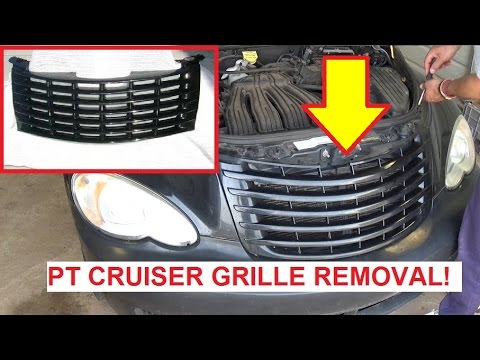 Front grill disassembly instructions
Chrysler Pt Cruiser (2000-2010 / MK 1) The front grille integrated in the front bumper is fixed to the bonnet bumper with two screws for each end and then wedged along the edges to the bum 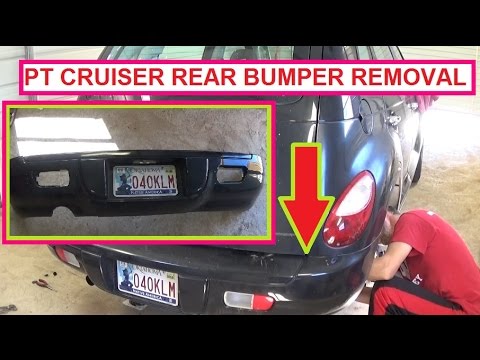 Rear bumper removal instructions
Chrysler Pt Cruiser (2000-2010 / MK 1) In order to remove the rear bumper it is first necessary to remove the plastic wheel arches from under the rear mudguards (the operation is easier if 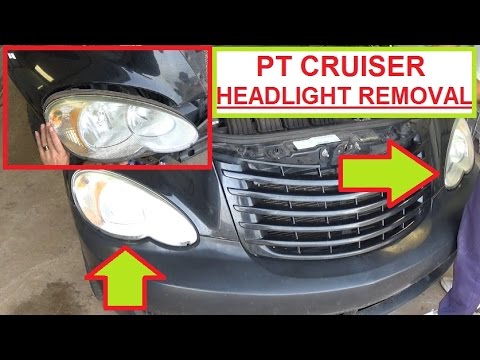 How to replace Chrysler Pt Cruiser headlight bulbs
Chrysler Pt Cruiser (2000-2010 / MK 1) As a first operation, unhook the hood from the special lever and lift it, now you will have to remove the bolts indicated in the video on the upper p Other guides that may interest you
|
How do you replace the horn on the Citroà «n Berlingo?
In order to replace the horn on the Citroà «n Berlingo, the vehicle must be raised so that the screws that secure the left front wheel can be loosened and removed completely. Once this wheel has been removed, it will be possible to access the screws that secure the internal cover of the corresponding wheel arch: this will have to be detached and it will be possible to access the components inside, including the horn. This will need to be disconnected from its connector and removed from its holders, so that it can be replaced with a new spare part. by ScegliAuto More videos
|
|
For advertising on this site Write to info@scegliauto.com
ScegliAuto is not responsible for any inaccuracy of the data in the lists. To report any inaccuracy or your business (if you own the business in question), please write to info@scegliauto.com
Number of seconds to generate the page: 0.045
(c) ScegliAuto 2024 - info@scegliauto.com - Privacy Policy VAT number: IT01247470535 |