
|
Do it yourself
| |||
| ||||


Citroen C2 - Car stereoCar Stereo Citroen C2 (2003-2010 / mk 1) Citroen C2 (2003-2010 / MK 1)
How to change the car radio and how to install a stereo in a Citroen C2 Changing the car radio on the Citroën C2 is a fairly simple operation, you just need to have a bit of skill. Start by removing the front panel of the original …Read all… Posted on 2 September 2025 by ScegliAuto  Citroen C2 (2003-2010 / MK 1)
How to Replace the Radio in a Citroen C2 In today's tutorial video, you will learn how to remove and replace the standard radio in a Citroen C2, following the instructions below. First, get inside the …Read all… Posted on 14 September 2026 by ScegliAuto 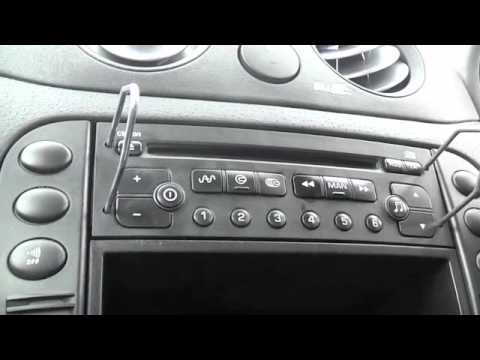 Citroen C2 (2003-2010 / MK 1)
Removing the Car Radio and Inspection To remove the car radio from the console, insert the appropriate tools into the side slots of the radio to release the retaining springs. These tools are …Read all… Posted on 3 February 2026 by ScegliAuto Speaker (1) Car stereo (3) Battery (4) Transmission (1) Body (1) Glove compartment (1) Key (5) Timing belt (1) Onboard computer (1) Checks and maintenance (4) Shifter boot (1) Brake rotors (1) Tail light (2) Fog lights (1) Cabin air filter (3) Parking brake (1) Fuel injectors (1) Reverse light switch (1) Light bulb (1) Headlight bulb (4) Tail light bulb (2) Engine (1) Power window motor (1) Starter motor (2) Transmission fluid (1) Engine oil (2) Clock (1) Brake pads (1) Car door (1) Instrument cluster (1) Radiator (1) Heater core (1) Wheel (3) Fuse box (13) Seat (1) Side mirror (3) Warning light – error code (4) (1) Service warning light (15) |
Where is the Spare Wheel in the Peugeot 5008?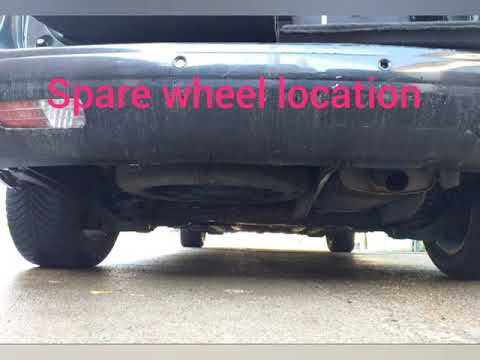
This video shows where the spare wheel is located in the Peugeot 5008 and how to access it, useful in case of a puncture. As shown, the wheel is not in the usual boot compartment but underneath it, outside the vehicle. To free the wheel, first gather the tools provided, then open the boot, locate the small indicated hatch, and open it. Next, loosen the bolt just released using the large socket wrench enough to lower the wheel to the ground. by ScegliAuto More videos
|
|
For advertising on this site Write to info@scegliauto.com
ScegliAuto is not responsible for any inaccuracy of the data in the lists. To report any inaccuracy or your business (if you own the business in question), please write to info@scegliauto.com
Number of seconds to generate the page: 0.103
(c) ScegliAuto 2026 - info@scegliauto.com - Privacy policy VAT number: IT01247470535 |
