
|
Do it yourself
| |||
| ||||


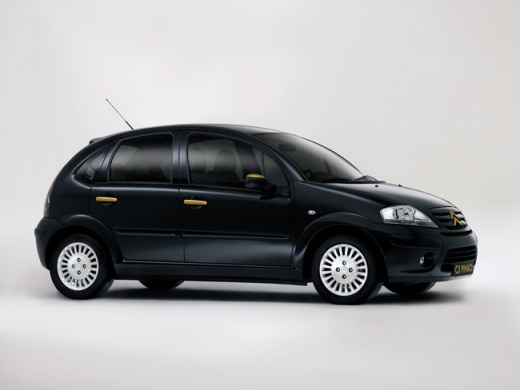
How to change the handle of the glove compartment of the Citroen C3 MK1
Model: Citroen C3
FC, FN
- Years:
2002, 2003, 2004, 2005, 2006, 2007, 2008, 2009
Video tutorial
In this video we can see how to change the handle of the glove compartment of the Citroen C3 MK1 version (also known as FC or FN). We simply remove it by levering, from the inside of the drawer, with a screwdriver, from the side of the cover, then remove the metal closure, always levering with the same screwdriver. We can find the new handle for example on Amazon with the code B0BT1RLJSF, at the price of 13.52 euros, + delivery costs of 5.99 euros. Of course, the new handle comes complete with the spring, which we load onto its support and then reassemble it by passing it under the cover: Placing the spring inside its housing is quite complex, it takes a bit of patience. Then we put back the cover we had removed at the beginning, and it's done.
Posted on 15 June 2025 by ScegliAuto
Related tutorials
Citroen C3
(2002-2009 /
FC, FN)
Today we will discover the main instructions that will allow us to disassemble and repair (or possibly replace) the glove box handle of the Citroen C…

Citroen C3
(2009-2016 /
SC)
If the glove compartment in your Citroen C3 is broken or you simply want to replace it with a new one, follow this guide to learn how to remove it co…

Citroen C3
(2002-2009 /
FC, FN)
The failure of the glove compartment lock on this model is a common issue: the plastic pins that hold it in place often break, along with the return …
Other guides you may be interested in
|
Frequently Asked QuestionsHow to Remove the Rear Seat of a Hyundai Tucson?
To remove the rear seat of a Hyundai Tucson, follow these steps. Start by moving the front seats to their most forward position to gain space. Next, locate the release lever on the underside of the rear seat, near the floor. Press this lever down while pulling the seat upwards to unlock it from the anchor pins. Once unlocked, tilt the seat upwards and forwards to remove it from its position. Repeat this process for both sides of the rear seat. Be careful of any electrical cables or components that may be connected to the seat during removal. Once the rear seat is removed, the disassembly is complete. by ScegliAuto More videos
|
|
For advertising on this site Write to info@scegliauto.com
ScegliAuto is not responsible for any inaccuracy of the data in the lists. To report any inaccuracy or your business (if you own the business in question), please write to info@scegliauto.com
Number of seconds to generate the page: 0.086
(c) ScegliAuto 2026 - info@scegliauto.com - Privacy policy VAT number: IT01247470535 |
