
|
Do it yourself
| |||
| ||||


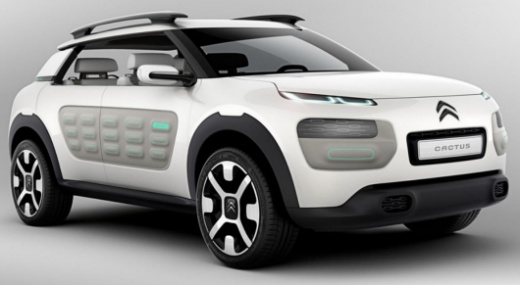
How to reset the AdBlue warning on Citroen or Peugeot using a scanner tool
Model: Citroen Cactus
MK 1
- Years:
2014, 2015, 2016, 2017, 2018, 2019, 2020
Video tutorial
Let's see how to reset the AdBlue light on a Citroen or Peugeot vehicle using a scanner tool: the YouTuber suggests Autel MK808, which is a professional tool, and costs 339.00 euros on it. Obdprice. Eu, with free delivery. We connect it to the EOBD socket and see that it indicates the classic AdBlue error, namely P20E8. We go to "special functions", from there to "service action" and then "emission control circuit", then we go to "system fault re-initialization"; we confirm, then turn off the vehicle's ignition for at least 30 seconds, during which there will be a countdown, after which we can turn it back on, and see that the AdBlue light is off. We go back to the error codes and delete the P20E8, and that's it.
Posted on 17 November 2025 by ScegliAuto
Related tutorials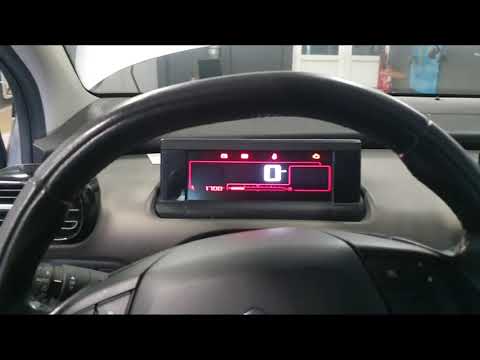
Citroen Cactus
(2014-2020 /
MK 1)
To reset the AdBlue light on a Citroën C4 Cactus, first top up the additive liquid in the designated tank, which is vented next to the fuel tank. Aft…
Citroen Cactus
(2014-2020 /
MK 1)
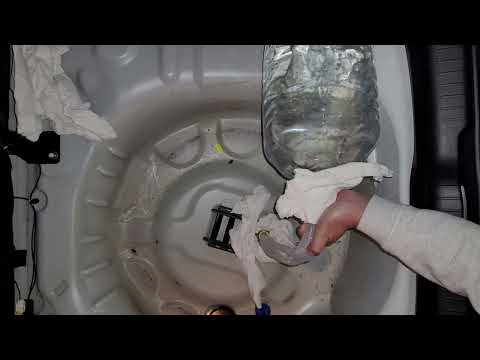
To top up AdBlue on the Citroën C4 Cactus, open the rear hatch of the car to access the components inside the boot: here you can lift the carpet that…

Citroen Cactus
(2014-2020 /
MK 1)
If the AdBlue warning light has come on in the instrument panel of our Citroen C4 Cactus, it means that the fluid in the pollution control system has…
Other guides you may be interested in |
How to Remove the Rear Seat of a Hyundai Tucson?
To remove the rear seat of a Hyundai Tucson, follow these steps. Start by moving the front seats to their most forward position to gain space. Next, locate the release lever on the underside of the rear seat, near the floor. Press this lever down while pulling the seat upwards to unlock it from the anchor pins. Once unlocked, tilt the seat upwards and forwards to remove it from its position. Repeat this process for both sides of the rear seat. Be careful of any electrical cables or components that may be connected to the seat during removal. Once the rear seat is removed, the disassembly is complete. by ScegliAuto More videos
|
|
For advertising on this site Write to info@scegliauto.com
ScegliAuto is not responsible for any inaccuracy of the data in the lists. To report any inaccuracy or your business (if you own the business in question), please write to info@scegliauto.com
Number of seconds to generate the page: 0.013
(c) ScegliAuto 2026 - info@scegliauto.com - Privacy policy VAT number: IT01247470535 |
