
|
Do it yourself
| |||
| ||||


How to Reset the Warning Light on C3
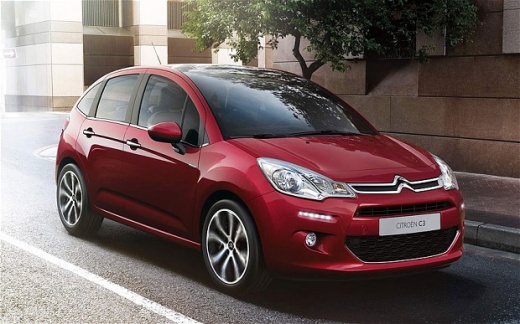
Model: Citroen C3
SC
- Years 2009-2016
Want to reset the maintenance light on your C3? Here's how to do it. Turn on the instrument panel with the appropriate key (you will see the maintenance message), turn off the instrument panel and press the button on the left. Turn the instrument panel back on and wait for the countdown (release the button when the seconds finish). Turn off the instrument panel with the appropriate key, then turn it back on to check the maintenance status (the light should no longer be illuminated). Always reset the light with the engine off and the car stationary for safety and effectiveness.
Updated on 18 April 2026 by ScegliAuto
Video tutorial
Related tutorials
Citroen C3
(2016-2023 /
SY, SX)
The reset of the service light on the Citroen C3 vehicle follows the same procedure as resetting the light related to the maintenance of Peugeot vehi…

Citroen C3
(2016-2023 /
SY, SX)
In order to reset the AdBlue light on the Citroën C3, you need to perform a refill by adding the necessary amount of additional fluid into the design…

Citroen C3
(2016-2023 /
SY, SX)
To reset the service light on the Citroen C3, we need to follow a few simple steps. The first step is to press the button located to the right of the…
Other guides you may be interested in
|
Frequently Asked QuestionsHow to Remove the Front Bumper of the Citroën C4 Picasso?
To remove the front bumper of the Citroën C4 Picasso, you need to take out all the rivets and screws that secure the piece to its housing: these screws are located inside the wheel arches of the front wheels and at the central upper part of the bumper itself. Once all these fastening elements have been removed, you can detach the bumper from its seat by disconnecting the connectors inside and then insert the new replacement part. The new part can then be secured and connected properly, ensuring it is correctly fixed in place. by ScegliAuto More videos
|
|
For advertising on this site Write to info@scegliauto.com
ScegliAuto is not responsible for any inaccuracy of the data in the lists. To report any inaccuracy or your business (if you own the business in question), please write to info@scegliauto.com
Number of seconds to generate the page: 0.552
(c) ScegliAuto 2026 - info@scegliauto.com - Privacy policy VAT number: IT01247470535 |
