
|
Do it yourself
| |||
| ||||


Guide to Replacing the Dipped Beam Bulb
Model: Citroen C3
FC, FN
- Years 2002-2009
The video guides us through replacing the bulb of the left front headlamp. Start by removing the battery cover and the fuse box cover to create as much space as possible for comfortable working. Next, you will find a locking clip that needs to be released by pulling it back and upwards, freeing the bulb holder. Once the connector is removed from the blown bulb, disassemble it by unhooking the clip that holds it in place.
After removing the blown bulb, proceed to install the new one, ensuring to follow the orientation indicated by the metal notch and make sure not to touch the glass of the new bulb for any reason. Reassemble everything following the steps in reverse order. In the video, the operation is performed on a Toyota Yaris, but it is the same for all cars with halogen headlights.
Updated on 2 February 2026 by ScegliAuto
Video tutorial
Related tutorials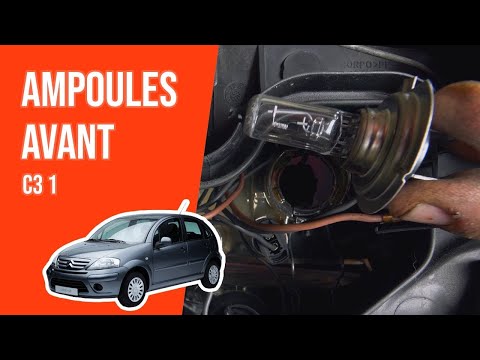
Citroen C3
(2002-2009 /
FC, FN)
The steps shown in this guide will allow you to remove and replace the dipped beam bulb of the front headlamp on a Citroen C3. First, open the bonnet…

Citroen C3
(2016-2023 /
SY, SX)
Today's guide will show you how to remove and replace the headlight bulbs, including the dipped beam, position, and indicator bulbs, on the Citroen C…
Citroen C3
(2009-2016 /
SC)
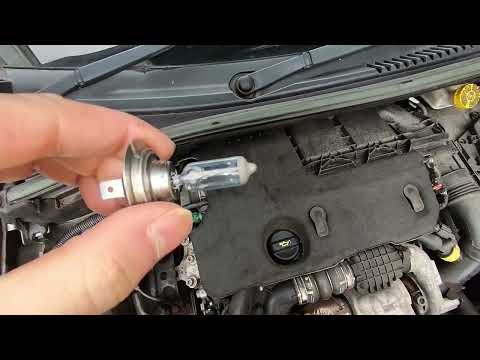
In this tutorial, you will see how to replace the dipped beam bulbs in a Citroen C3, a very simple and quick operation. First, ensure the key is not …
Other guides you may be interested in
|
How to Check the Oil Level on a Jeep Renegade?
To check the oil level on a Jeep Renegade, you need to open the bonnet to access the components inside the engine bay: on the lower left side of the engine block, you will find the dipstick for checking the level. This should be pulled out and thoroughly cleaned with a cloth: once cleaned, reinsert it back into its tube and pull it out immediately after. This way, you can check that the oil mark is between the minimum and maximum levels; finally, you can place the dipstick back in its tube. by ScegliAuto More videos
|
|
For advertising on this site Write to info@scegliauto.com
ScegliAuto is not responsible for any inaccuracy of the data in the lists. To report any inaccuracy or your business (if you own the business in question), please write to info@scegliauto.com
Number of seconds to generate the page: 0.335
(c) ScegliAuto 2026 - info@scegliauto.com - Privacy policy VAT number: IT01247470535 |
