
|
Do it yourself
| |||
| ||||


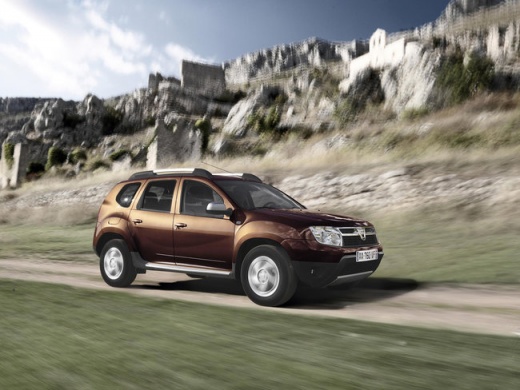
How to change the battery in the Dacia Duster MK1
Model: Dacia Duster
MK 1, HS
- Years:
2010, 2011, 2012, 2013, 2014, 2015, 2016, 2017
Video tutorial
In this video, we will see how to change the battery of the Dacia Duster MK1: we start by opening the front hood; we will see the battery in the engine compartment on the right. We will start by disconnecting the negative terminal, which is the black one, with a 10mm socket wrench. We will keep it far away, to avoid accidentally reconnecting it to the battery. With the same 10mm socket wrench, we unscrew the screw that holds the positive terminal in place, the red one. To remove the battery, we need to remove the support plate, using a long extension and a 13mm insert to unscrew the fixing bolt. Once the plate is removed, we can take out the battery. We scrape the inside of the terminals with sandpaper to remove any oxide, then we apply copper grease to the terminals of the new battery, then we insert the new battery and secure it to its support. We connect the positive terminal first and then the negative one, and the operation is complete.
Posted on 7 March 2025 by ScegliAuto
Related tutorials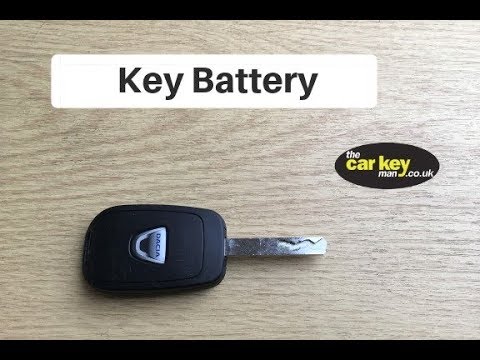
Dacia Duster
(2010-2017 /
MK 1, HS)
Is the battery in your Dacia Duster key damaged? Here’s how to change it from the remote. Take your remote and, using a screwdriver, separate the key…
Dacia Duster
(2010-2017 /
MK 1, HS)
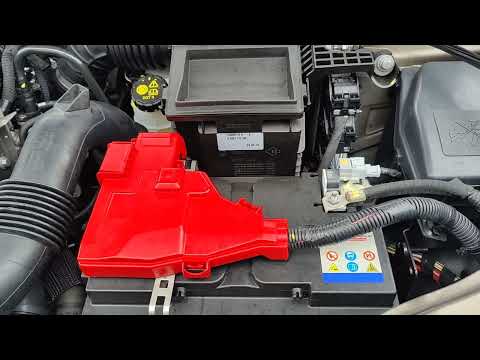
To independently and correctly replace the battery in your Dacia Duster, follow these steps. First, turn off the car and lift the bonnet to easily lo…
Dacia Duster
(2017-2024 /
HM, MK 2)
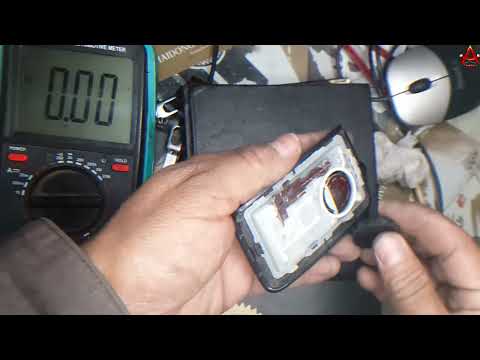
Below are the steps on how to disassemble and replace the battery of the electronic key remote for the Dacia Duster. First, take the remote in hand a…
Other guides you may be interested in
|
How to Reset the Tire Pressure Light on a MG ZS?
On the instrument cluster of the MG ZS, the tire pressure light that appears can be reset by inflating the tires to the correct pressure: this value will be indicated on the sticker attached to the driver's door pillar. Once the tires have been properly inflated, you can turn on the instrument cluster and navigate through the menu until you find the option that indicates tire pressure: if this screen shows the new values, the light will turn off; otherwise, you will need to drive for a few miles so that the sensors can read the new values and turn off the light afterward. by ScegliAuto More videos
|
|
For advertising on this site Write to info@scegliauto.com
ScegliAuto is not responsible for any inaccuracy of the data in the lists. To report any inaccuracy or your business (if you own the business in question), please write to info@scegliauto.com
Number of seconds to generate the page: 0.063
(c) ScegliAuto 2026 - info@scegliauto.com - Privacy policy VAT number: IT01247470535 |
