
|
Do it yourself
| |||
| ||||


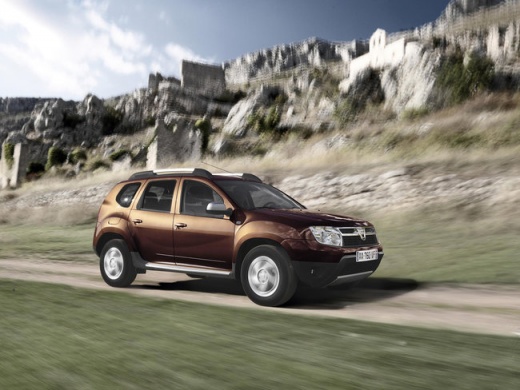
Install LED lights on the dashboard of the Dacia Duster.
Model: Dacia Duster
MK 1, HS
- Years:
2010, 2011, 2012, 2013, 2014, 2015, 2016, 2017
Video tutorial
Let's see how to complete this nice little job to give a bit more nighttime light to the dashboard of a Dacia Duster MK1: first of all, let's get some 30 cm long LED strips. We can find them for example on Amazon and 6 strips with the code B09GK5SY65 cost 15.22 euros, with free delivery, then we will need a 130 cm bipolar wire. We need to detach the panel at the base of the dashboard and also the one behind the glove compartment: from here we will pass the bipolar wire, starting from the top to the bottom; at the top part we connect the LED strip, while at the bottom part we make a bridge to connect the other LED strip. The final part of the wire, we connect it to the plug of the ECO button, where the gray wire and the light blue wire are connected together. Now we can close everything and attach the LEDs with the adhesive they have on the back, in the darkest parts of the dashboard.
Posted on 14 April 2025 by ScegliAuto
Related tutorials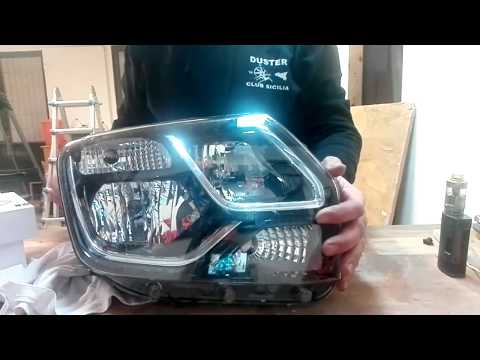
Dacia Duster
(2010-2017 /
MK 1, HS)
In this video, see how to install LED bulbs on the Dacia Duster. Once the headlamp is removed (it is easier to work this way than directly on the car…

Dacia Duster
(2010-2017 /
MK 1, HS)
In this video we can see how to change the dashboard bulbs where the climate knobs are located in a Dacia Duster MK1. We use a plastic spatula to rem…

Dacia Duster
(2017-2024 /
HM, MK 2)
The following video tutorial shows us the steps to turn on or off the low beam and high beam lights of the Dacia Duster model 2. To turn on the low b…
Other guides you may be interested in
|
How to Remove the Rear Seat of a Hyundai Tucson?
To remove the rear seat of a Hyundai Tucson, follow these steps. Start by moving the front seats to their most forward position to gain space. Next, locate the release lever on the underside of the rear seat, near the floor. Press this lever down while pulling the seat upwards to unlock it from the anchor pins. Once unlocked, tilt the seat upwards and forwards to remove it from its position. Repeat this process for both sides of the rear seat. Be careful of any electrical cables or components that may be connected to the seat during removal. Once the rear seat is removed, the disassembly is complete. by ScegliAuto More videos
|
|
For advertising on this site Write to info@scegliauto.com
ScegliAuto is not responsible for any inaccuracy of the data in the lists. To report any inaccuracy or your business (if you own the business in question), please write to info@scegliauto.com
Number of seconds to generate the page: 0.028
(c) ScegliAuto 2026 - info@scegliauto.com - Privacy policy VAT number: IT01247470535 |
