
|
Do it yourself
| |||
| ||||


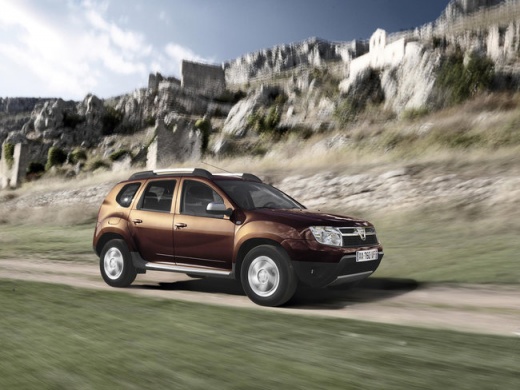
How to Replace the Glow Plugs on a Dacia Duster MK1
Model: Dacia Duster
MK 1, HS
- Years:
2010, 2011, 2012, 2013, 2014, 2015, 2016, 2017
Video tutorial
Replacing the glow plugs on a Dacia Duster MK1 is a common maintenance task, but they are very fragile and must be handled carefully and prepared in advance. Generously spray them with WD-40, which will dissolve rust and carbon that may be blocking them, and then vacuum all the dirt from the glow plug seats using a plastic tube attached to the vacuum cleaner before removing them. Disconnect the battery, remove the intake duct and the plastic cover that protects the glow plugs, disconnect the electrical connectors, unscrew the old glow plugs (which should come out easily at this point), and install the new ones (you can find 4 excellent Bosch plugs on eBay for £46.58 with free delivery, code 317407425413) by inserting them by hand first and then tightening them with a torque wrench. Reconnect the electrical connector and refit the plastic cover and the intake duct. Reconnect the battery, and you are finished.
Posted on 11 October 2026 by ScegliAuto
Related tutorials
Dacia Duster
(2010-2017 /
MK 1, HS)
Today's main instructions will show you the procedure for removing and replacing the horn or sound signal on the Renault Duster, as well as the Dacia…

Dacia Duster
(2010-2017 /
MK 1, HS)
On the Dacia Duster, the maintenance interval reset is performed with the engine off. With the Dacia Duster stationary, turn the ignition to ON witho…
Dacia Duster
(2010-2017 /
MK 1, HS)
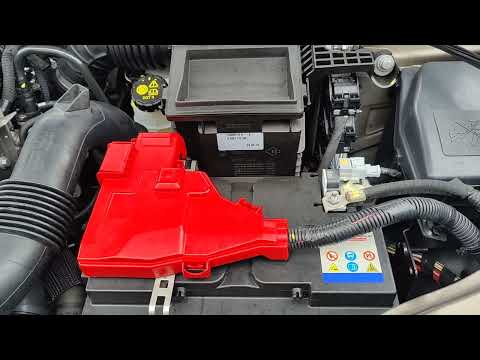
To independently and correctly replace the battery in your Dacia Duster, follow these steps. First, turn off the car and lift the bonnet to easily lo…
Other guides you may be interested in
|
Location of the Jack and Spare Wheel of the Toyota Yaris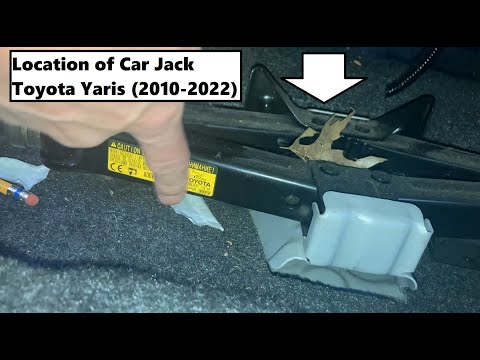
In the unfortunate event that one of the wheels of the Toyota Yaris is punctured, it is useful to know the location of the lifting jack, the spare wheel, the tool to operate the jack, and to unscrew the wheel bolts. The jack is located under the driver's seat, secured to a bracket and protected by a plastic cover, which you can remove by acting on the fixing clips. The spare wheel is located under the floor panel of the boot, secured to the floor by a threaded plastic flange, alongside which you will find the tool, consisting of a bent bar, which is used to operate the jack on one side and to remove the wheel on the other. by ScegliAuto More videos
|
|
For advertising on this site Write to info@scegliauto.com
ScegliAuto is not responsible for any inaccuracy of the data in the lists. To report any inaccuracy or your business (if you own the business in question), please write to info@scegliauto.com
Number of seconds to generate the page: 0.107
(c) ScegliAuto 2026 - info@scegliauto.com - Privacy policy VAT number: IT01247470535 |
