
|
Do it yourself
| |||
| ||||


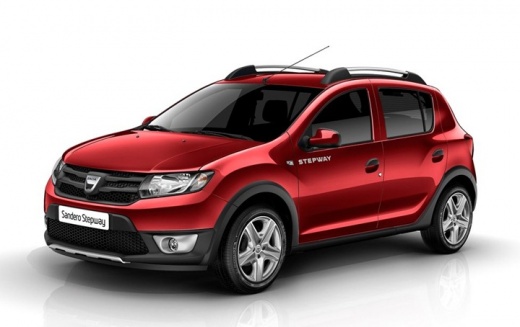
How to Replace the Upstream Oxygen Sensor on the Dacia Sandero 2
Model: Dacia Sandero
- Years:
2012, 2013, 2014, 2015, 2016, 2017, 2018, 2019, 2020
Video tutorial
To replace the upstream oxygen sensor (lambda sensor) on the Dacia Sandero 2, you will need a special 22 mm lambda sensor socket (with a cutout for the wire), a universal joint, an extension, penetrating fluid (WD-40), a torque wrench, and silicone-free anti-seize grease. Typical symptoms of a faulty sensor include increased fuel consumption, irregular idle, hesitation during acceleration, and the engine light with codes P0130, P0133, or P0135. Using an OBD scanner, you can check that the voltage does not fluctuate between 0.1V and 0.9V (if it remains fixed, the sensor is faulty). You can find the new sensor on eBay with code 398333371228 for £39.64, with free delivery. Disconnect the battery, allow the engine to cool, locate the sensor on the exhaust manifold (before the catalytic converter), spray penetrating fluid on the threads, disconnect the connector, and unscrew the sensor counterclockwise with the special socket. Clean the threads, apply a thin layer of anti-seize on the new sensor, screw it in by hand and tighten to about 30 Nm. Reconnect the connector, the battery, clear the error codes, and take a test drive for 20 minutes. If the light remains on after replacement, do not replace sensors randomly: it could be a broken ground wire at the connector or a degraded catalytic converter, requiring further diagnosis.
Posted on 14 November 2026 by ScegliAuto
Related tutorials
…

Dacia Sandero
(2012-2020 /
B8)
To permanently disable the Start/Stop system on a Dacia Sandero, you need to work in the engine bay. Open the bonnet and locate the IBS sensor connec…

Dacia Sandero
(2012-2020 /
B8)
If you want to replace the window switch panel on your Dacia Sandero second generation, follow the procedure described in this guide. Before starting…
ScegliAuto offers an extensive international collection of automotive tutorials available in 12 languages. Each guide combines instructional videos with original explanations written by experienced human editors, along with information about the car models covered.
Other guides you may be interested in
|
How to Adjust the Rear Seats of the BMW X1
In this video, see how the BMW X1's cargo area can be used to transport large loads. To expand this area, the rear seat can be folded down with a 40/20/40 split, each section can be folded separately or all together. The seats can be adjusted independently to provide more space for passengers or cargo: to do this, pull the handle located at the bottom and push or pull as needed. To position the backrest in the desired position, there is a cordura handle on the left side. Inside the trunk, there are buttons that automatically fold the backrests of the rear seats forward, but only after ensuring they are clear. They can be returned to an upright position manually using the cordura handle. by ScegliAuto More videos
|
|
For advertising on this site Write to info@scegliauto.com
ScegliAuto is not responsible for any inaccuracy of the data in the lists. To report any inaccuracy or your business (if you own the business in question), please write to info@scegliauto.com
Number of seconds to generate the page: 0.129
(c) ScegliAuto 2026 - info@scegliauto.com - Privacy policy - About us VAT number: IT01247470535 |
