
|
Do it yourself
| |||
| ||||


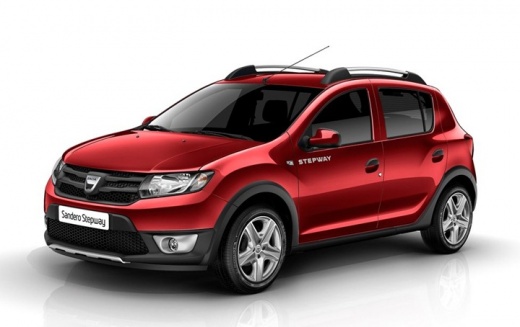
How to Permanently Disable the Start/Stop System in Dacia Sandero
Model: Dacia Sandero
B8
- Years:
2012, 2013, 2014, 2015, 2016, 2017, 2018, 2019, 2020
Video tutorial
To permanently disable the Start/Stop system on a Dacia Sandero, you need to work in the engine bay. Open the bonnet and locate the IBS sensor connected to the negative terminal of the battery, which is responsible for monitoring the charge. Proceed by disconnecting the electrical connector of the sensor by pressing the locking tab and pulling it outwards. Once disconnected, the system will no longer receive the necessary data to activate Start/Stop, and the function will be continuously disabled. Close the bonnet and check for the absence of automatic activation while driving.
Posted on 12 September 2026 by ScegliAuto
Related tutorials
Dacia Sandero
(2021-2026 /
MK 3)
In this video we can see how to permanently deactivate the start & stop system on the Dacia Sandero Stepway. If we wanted to deactivate it only for t…

Dacia Sandero
(2021-2026 /
MK 3)
In this tutorial we can see how to deactivate the Start & Stop in the Dacia Sandero, an extremely simple and quick operation to be carried out in cas…

Dacia Sandero
(2021-2026 /
MK 3)
This video shows a method to disable the Start & Stop system on the Dacia Sandero: it slightly increases fuel consumption in the city, but prevents t…
Other guides you may be interested in
|
Frequently Asked QuestionsHow to Set the Time in an Audi A4?
In this tutorial, you will see how to set the time in an Audi A4, a very simple and quick operation to perform after replacing the battery or when the time changes. First, insert the key and turn on the instrument cluster. Then, press the "SETUP" button located on the center console. Next, press the upper left arrow button, navigate to the "Time" option, and use the central knob to adjust the clock. Finally, set any necessary formats and save by returning to the main screen. by ScegliAuto More videos
|
|
For advertising on this site Write to info@scegliauto.com
ScegliAuto is not responsible for any inaccuracy of the data in the lists. To report any inaccuracy or your business (if you own the business in question), please write to info@scegliauto.com
Number of seconds to generate the page: 0.121
(c) ScegliAuto 2026 - info@scegliauto.com - Privacy policy VAT number: IT01247470535 |
