
|
Do it yourself
| |||
| ||||


Replacing the Indicator Switch on Dacia Dokker - Sandero - Duster
Model: Dacia Dokker
MK 1
- Years 2013-2024
In this guide, discover how to dismantle and replace the indicator switches on the second series Dacia Dokker, as well as on the Sandero and Duster. First, get inside the vehicle and start by removing the plastic cover on the steering wheel; then unscrew the fixing screws located under the steering column using a Torx screwdriver. At this point, unscrew the side screws of the indicator switch, disconnecting the electrical connector to remove it completely; simply replace it with the new one, applying the reverse procedure!
Updated on 29 April 2026 by ScegliAuto
Video tutorial
Related tutorials
Dacia Dokker
(2013-2024 /
MK 1)
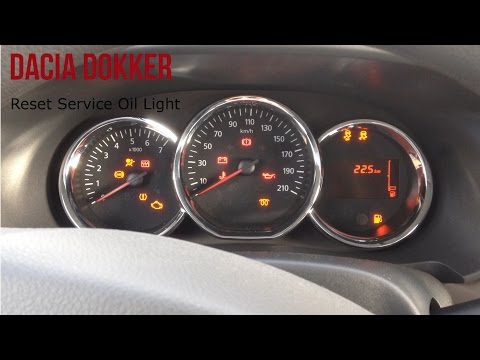
Let's see how to remove and replace the bulbs of the front headlamp on a Dacia Dokker. Lift the front bonnet of the car and access the back of the fr…
Dacia Dokker
(2013-2024 /
MK 1)
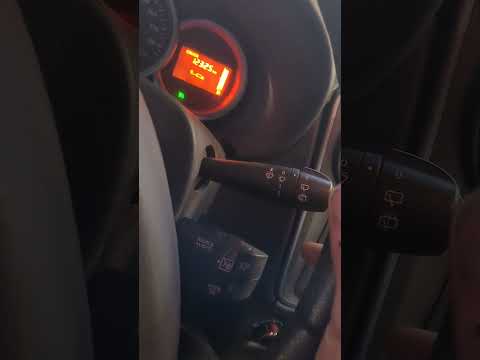
Before you begin, sit in the driver's seat of your Dacia Dokker. Start by putting the vehicle in neutral, then activate the instrument panel without …
Dacia Dokker
(2013-2024 /
MK 1)
If the TPMS light on the instrument cluster of your Dacia Dokker lights up despite no pressure loss or punctures, follow these instructions to comple…
Other guides you may be interested in
|
How to Open a Stuck Boot on the Peugeot 407?
On the Peugeot 407, the boot may become stuck, possibly due to a problem with the control button or the lock actuator. In such cases, you can perform an emergency opening by following the simple procedure shown in this tutorial. First, open the rear doors, then lower the seat back by operating the release lever. Next, go inside the boot, locate the lock, and manually operate it using a flathead screwdriver. The boot will then be free to open. by ScegliAuto More videos
|
|
For advertising on this site Write to info@scegliauto.com
ScegliAuto is not responsible for any inaccuracy of the data in the lists. To report any inaccuracy or your business (if you own the business in question), please write to info@scegliauto.com
Number of seconds to generate the page: 0.472
(c) ScegliAuto 2026 - info@scegliauto.com - Privacy policy VAT number: IT01247470535 |
