
|
Do it yourself
| |||
| ||||


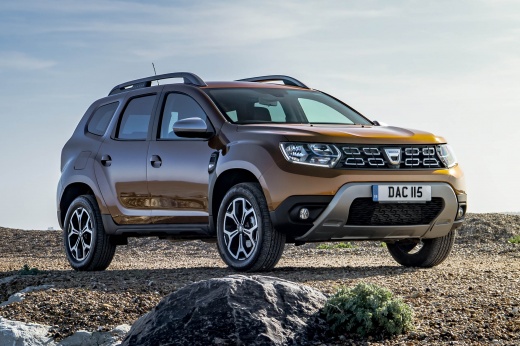
DIY Modification of the Boot Space on a Dacia Duster
Model: Dacia Duster
HM, MK 2
- Years:
2017, 2018, 2019, 2020, 2021, 2022, 2023, 2024
Video tutorial
In this video, see how to modify the boot of a Dacia Duster: the boot of this vehicle is spacious but very bare; there are no compartments to store items, and it is also a bit lower than the loading area. The YouTuber removed the floor and built a frame with wooden planks of the desired thickness (10 cm) to level it with the loading area, thus creating compartments to store snow chains, the warning triangle, vehicle tools, and all those items that would otherwise be scattered around the boot causing inconvenience. The frame is built in two parts to fit through the tailgate. Simply place the original floor on top, which is now flush with the loading area.
Updated on 20 September 2026 by ScegliAuto
Related tutorials
Dacia Duster
(2010-2017 /
MK 1, HS)
Let's see where the fuse boxes are located inside the Dacia Duster. As for the passenger compartment, we will find the fuse box inserted in the thick…
Dacia Duster
(2010-2017 /
MK 1, HS)
Start by sitting in the driver's seat of your Dacia Duster, then start the engine by turning the key in the ignition. Next, using the selection butto…

Dacia Duster
(2010-2017 /
MK 1, HS)
To find all the fuses of your first-generation Dacia Duster, you need to carefully read the following guide and follow the described steps. First, ma…
Other guides you may be interested in |
How to Remove the Rear Seat of a Hyundai Tucson?
To remove the rear seat of a Hyundai Tucson, follow these steps. Start by moving the front seats to their most forward position to gain space. Next, locate the release lever on the underside of the rear seat, near the floor. Press this lever down while pulling the seat upwards to unlock it from the anchor pins. Once unlocked, tilt the seat upwards and forwards to remove it from its position. Repeat this process for both sides of the rear seat. Be careful of any electrical cables or components that may be connected to the seat during removal. Once the rear seat is removed, the disassembly is complete. by ScegliAuto More videos
|
|
For advertising on this site Write to info@scegliauto.com
ScegliAuto is not responsible for any inaccuracy of the data in the lists. To report any inaccuracy or your business (if you own the business in question), please write to info@scegliauto.com
Number of seconds to generate the page: 0.015
(c) ScegliAuto 2026 - info@scegliauto.com - Privacy policy VAT number: IT01247470535 |
