
|
Do it yourself
| |||
| ||||


How to Replace the Rear Light on a Dodge Challenger
Model: Dodge Challenger
MK 3
- Years 2008-2023
In this tutorial video, you will see how to replace the rear light on a Dodge Challenger by following some simple steps: the first thing to do is open the boot; using a plastic trim tool, carefully lift the corner trim piece; while working inside the boot, remove the rear light housing and the plastic fastening nut of the carpet; then pull back the carpet and remove the remaining fastening nut of the rear light housing. Disconnect the electrical connector and pull the rear light housing back to remove it from the vehicle. Align the studs on the rear light housing with the holes in the body and install the housing. Working inside the boot, install the fastening nut for the rear light, tightening it securely. Reconnect the electrical connector and reassemble all parts in reverse order.
Updated on 10 July 2026 by ScegliAuto
Video tutorial
Related tutorials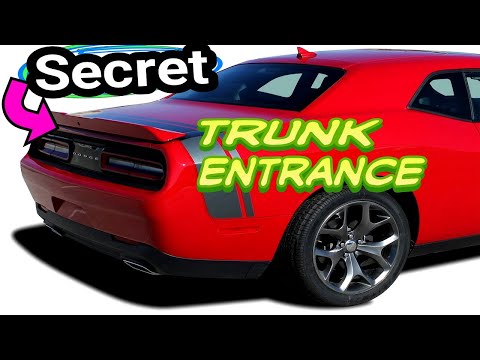
Dodge Challenger
(2008-2023 /
MK 3)
On the Dodge Challenger, the boot lid may become stuck due to issues with the battery or the lock actuator. In such cases, you can still perform an e…
Dodge Challenger
(2008-2023 /
MK 3)
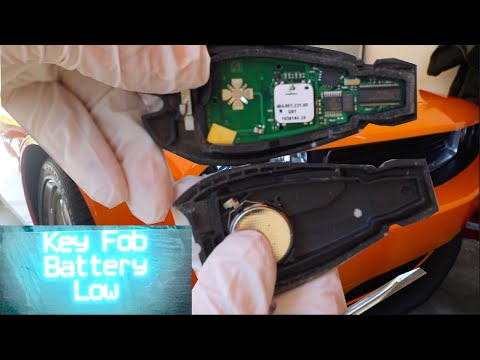
If your Dodge Challenger key has suddenly stopped working, you will need to replace the battery inside it. Below are all the necessary instructions. …
Dodge Challenger
(2008-2023 /
MK 3)
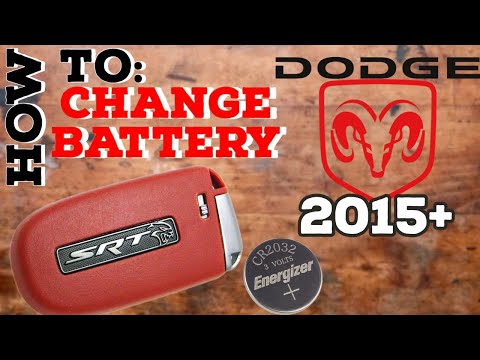
If you own a latest model Dodge Challenger and are wondering how to replace the key battery, simply follow the steps outlined in this guide. First, y…
Other guides you may be interested in
|
How to Bleed the Clutch on a Renault Clio?
To bleed the clutch on a Renault Clio, open the bonnet to access the components located in the engine bay: here, you will need to undo the screws that secure the battery in its housing, the intake manifold, and the coolant reservoir. This will allow you to locate the pipe through which the brake fluid flows: by inserting the other end of the pipe into a container, you can press the clutch pedal to expel all the fluid until it fills the container. by ScegliAuto More videos
|
|
For advertising on this site Write to info@scegliauto.com
ScegliAuto is not responsible for any inaccuracy of the data in the lists. To report any inaccuracy or your business (if you own the business in question), please write to info@scegliauto.com
Number of seconds to generate the page: 0.164
(c) ScegliAuto 2026 - info@scegliauto.com - Privacy policy VAT number: IT01247470535 |
