
|
Do it yourself
| |||
| ||||


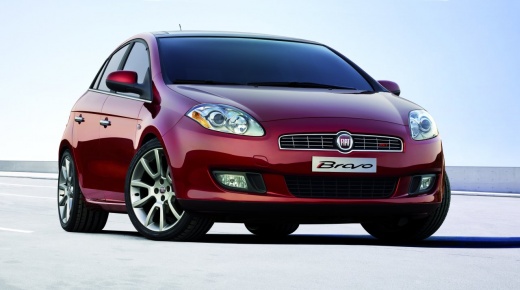
Handbrake Adjustment on a Fiat Bravo
Model: Fiat Bravo
Bravo 2
- Years:
2007, 2008, 2009, 2010, 2011, 2012, 2013, 2014
Video tutorial
In this useful video guide, we’ll see how to adjust the handbrake on a Fiat Bravo, second generation model produced from 2007 to 2014. First, remove the rear cover of the central tunnel using a plastic lever or a flathead screwdriver as shown in the video. Next, using a 10mm spanner, adjust the adjustment nut with the handbrake lowered. Tighten or loosen the adjustment nut to pull or release the handbrake cable. Once the correct tension is achieved, simply refit the plastic cover that was removed earlier.
Posted on 27 March 2026 by ScegliAuto
Related tutorials
Fiat Bravo
(2007-2014 /
Bravo 2)
Before you begin, sit in the driver's seat of your Fiat Bravo and fully disengage the handbrake. Using a flathead screwdriver as a lever, start to un…

Fiat Bravo
(2007-2014 /
Bravo 2)
Replacing the rear disc brake on a Fiat Bravo. Replace the disc brake by disassembling the various parts. Lift the car to a comfortable height for wo…

Fiat Bravo
(2007-2014 /
Bravo 2)
Let's see how to remove the front brake disc on a Fiat Bravo. Position your car on a column lift, raising it to a comfortable height; unscrew the bol…
Other guides you may be interested in |
How to Reset the Tyre Pressure Warning Light on a Kia Rio?
The tyre pressure warning light displayed on the instrument cluster of the Kia Rio can be reset by inflating the tyres until they reach the recommended pressure value: this value is indicated on the sticker affixed to the driver's door pillar. Once all tyres have been inflated to the recommended pressure, turn on the ignition to check that the light has disappeared: if it is still present, it may be necessary to drive for a few miles, allowing the sensors to work and thus turning off the light. by ScegliAuto More videos
|
|
For advertising on this site Write to info@scegliauto.com
ScegliAuto is not responsible for any inaccuracy of the data in the lists. To report any inaccuracy or your business (if you own the business in question), please write to info@scegliauto.com
Number of seconds to generate the page: 0.014
(c) ScegliAuto 2026 - info@scegliauto.com - Privacy policy VAT number: IT01247470535 |
