
|
Do it yourself
| |||
| ||||


How to Remove the Dashboard of a Fiat Ducato
Model: Fiat Ducato
X290
- Years 2014-2026
Let's see the procedure for removing the dashboard of a Fiat Ducato: start with the air vents. Insert a trim tool between the vent and the dashboard, then lever to release the side clips (two per vent) and pull outwards. Next, move to the radio: once the vents are removed, the 4 T25 screws will be visible; unscrew these to remove the radio module. Now move to the control panel located under the radio: remove the rubber mat, unscrew the T25 screw inside, lever to release the clips and pull out the panel (but be careful: there is a printed circuit board behind). Now, move to the instrument cluster surround behind the steering wheel: there are two T25 screws behind the surround that we need to unscrew, then grasp the surround from behind and lift it. Now you will see two T25 screws securing the instrument cluster. On the driver's side, find the fuse panel, secured by two T25 screws; unscrew them and release the clips by pulling towards you. For the passenger side vent, use a ratchet with a 25mm socket to remove a short screw, then lever with a plastic tool to release the upper clip; pull out the vent. For the upper glove compartment (above the radio), open the compartment and find two screws inside the compartment at the top and two on the upper part under the edge. Pull out the compartment.
Posted on 24 September 2026 by ScegliAuto
Video tutorial
Related tutorials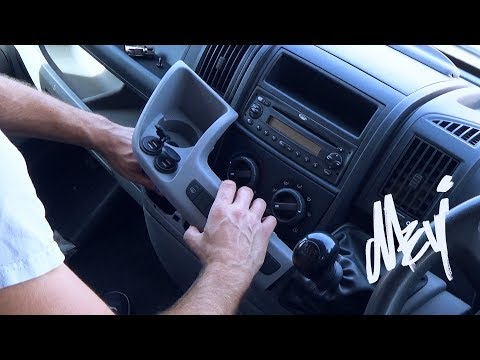
Fiat Ducato
(2006-2014 /
X250)
Learn how to remove the trim with the cigarette lighter located in the lower dashboard of a Fiat Ducato. Open the car door and enter the vehicle; use…

Fiat Ducato
(2014-2026 /
X290)
In this guide we will see the instructions that will allow us to disassemble the instrument panel of the dashboard and all its components of the Fiat…
Fiat Ducato
(1993-2016 /
MK 2)
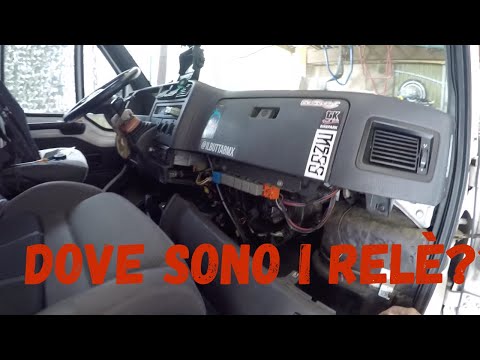
Removing the lower dashboard of the Fiat Ducato camper is a very simple operation that usually needs to be done alongside other tasks such as replaci…
Other guides you may be interested in
|
How to Connect the Cables to the Battery of the Citroen Xsara Picasso?
In this tutorial, you will see how to connect the cables to the battery of the Citroen Xsara Picasso, useful if you need to recharge it or perform an emergency start. First, ensure the key is not inserted, then open the bonnet and move to the front of the left headlamp. Next, locate the bolt just behind the filter box and connect the positive terminal clamp to it. Now you can connect the negative terminal to any point on the chassis, such as the indicated point. Once the operation is complete, ensure you disconnect the negative first and then the positive. by ScegliAuto More videos
|
|
For advertising on this site Write to info@scegliauto.com
ScegliAuto is not responsible for any inaccuracy of the data in the lists. To report any inaccuracy or your business (if you own the business in question), please write to info@scegliauto.com
Number of seconds to generate the page: 0.088
(c) ScegliAuto 2026 - info@scegliauto.com - Privacy policy VAT number: IT01247470535 |
