
|
Do it yourself
| |||
| ||||


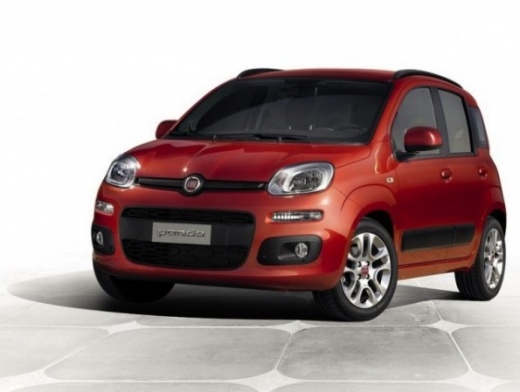
Resetting Service on a Fiat Panda
Model: Fiat Panda
319, MK 3
- Years 2012-2026
As with any maintenance operation on a car, it is necessary to immobilise your Fiat Panda to ensure it is stable and safe to work on, either on a flat surface or on a ramp (the former is preferable). This precaution should be taken to safeguard the operator's safety. At this point, you need a laptop, suitable software, and the interface that connects the laptop to the onboard computer of your Panda. The connection is made to the left of the steering wheel, on the driver's side; the software we use is Multiecuscan (where you need to select your car, as indicated in the video). Now, turn on the ignition. In the software, select the menu item you want to reset (in this case, "Service Indicator"). Once selected, you can check a series of parameters (for example, last check, mileage, etc.). Choose the "Adjustment" menu item at the top, then "System Reset". Now, click "Execute" and you're done!
Updated on 10 April 2026 by ScegliAuto
This video is currently unavailable
Related tutorials
Fiat Panda
(2012-2026 /
319, MK 3)
If the Service light comes on in your Fiat Panda, it means that the service is overdue, so you can either consult your trusted mechanic or wait for i…
Fiat Panda
(2012-2026 /
319, MK 3)
In this video, we will see the steps to reset the service light for the regular maintenance oil change on a Fiat Panda, as well as on other models fr…

Fiat Panda
(2003-2012 /
169, MK 2)
On a Fiat Panda vehicle, resetting the service light related to the car service is a very simple operation that will only take a few minutes of your …
Other guides you may be interested in
|
Frequently Asked QuestionsHow to Adjust the Brightness of the Instrument Cluster on a Peugeot 3008?
To adjust the brightness of the instrument cluster on a Peugeot 3008, you need to turn on the ignition and access the settings via the menu located in the central area of the dashboard. In the screen that appears, select the "Display Configuration" option: now, by selecting the "Brightness" option, you can adjust it using the dedicated slider that will appear on the screen. The adjustment should be made with the headlights on as well as with them off. Once the adjustment is complete, you can turn off the instrument cluster. by ScegliAuto More videos
|
|
For advertising on this site Write to info@scegliauto.com
ScegliAuto is not responsible for any inaccuracy of the data in the lists. To report any inaccuracy or your business (if you own the business in question), please write to info@scegliauto.com
Number of seconds to generate the page: 0.082
(c) ScegliAuto 2026 - info@scegliauto.com - Privacy policy VAT number: IT01247470535 |
