
|
Do it yourself
| |||
| ||||



Video tutorial
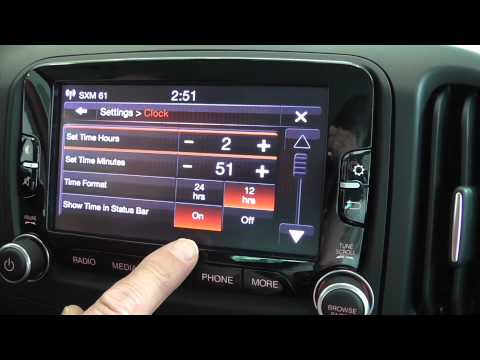
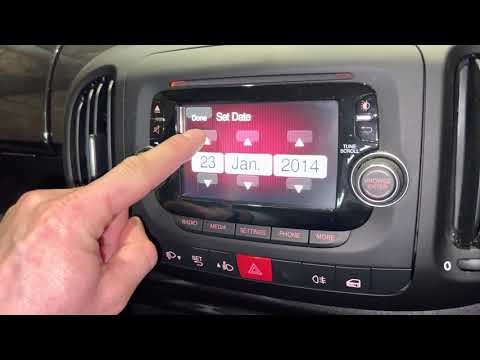
To change the time on the Fiat 500L in the central display and infotainment system, start by turning on the infotainment system and going to the settings; click on the clock option, then click on set time; now the time to change appears, from here you can choose whether you prefer the 12-hour or 24-hour format, using the up and down arrows to select the time. If you choose the 12-hour format, you can decide whether it is morning (am) or afternoon (pm). After changing the time, you can go back using the arrow in the top right; once back, you can also modify the date by clicking on the set date option and using the arrows to change the day, month, and year independently. After changing the date, you can go back with the arrow in the top right and return to the main menu; now you will notice that the time and date have also been changed in the instrument cluster display, and at this point, you can turn off the infotainment system.
Updated on 3 June 2026 by ScegliAuto
Related tutorials
Fiat 500
(2012-2023 /
500 L)
This guide provides instructions for changing the time on the central display of the Fiat 500L. First, get inside the vehicle and turn on the instrum…
Fiat 500
(2012-2023 /
500 L)
Before starting, sit in the driver's seat of your Fiat 500L. Begin by activating the onboard computer by pressing the corresponding power button. Nex…
Fiat 500
(2012-2023 /
500 L)
In this brief video guide, follow all the necessary steps to change the date and time on a Fiat 500L, produced from 2012 to 2021. To perform this ope…
Other guides you may be interested in
|
How to Remove the Toll Tag Holder from the Car Windscreen
The toll tag holder is usually attached to the car windscreen to ensure that the toll tag functions immediately when passing through barriers. However, if you decide to remove the holder, you should follow this procedure: - Insert the toll tag into the holder; - Pull the holder inwards to detach it from the windscreen; you can use a glass scraper or a stiff plastic card to assist you; After removing the holder, it is essential to remove the adhesive from the windscreen. To remove the adhesive, we recommend using a solvent-based spray that will remove the glue without clouding the area. by ScegliAuto More videos
|
|
For advertising on this site Write to info@scegliauto.com
ScegliAuto is not responsible for any inaccuracy of the data in the lists. To report any inaccuracy or your business (if you own the business in question), please write to info@scegliauto.com
Number of seconds to generate the page: 0.070
(c) ScegliAuto 2026 - info@scegliauto.com - Privacy policy VAT number: IT01247470535 |
