
|
Do it yourself
| |||
| ||||


How to Replace the Tailgate Handle on a Fiat Panda
Model: Fiat Panda
169, MK 2
- Years 2003-2012
To replace the tailgate handle on a Fiat Panda, start by opening the tailgate. Remove the 9 plastic caps using plastic wedges. Using a 5 mm Allen key, remove the latch that secures the boot. You can now take off the boot panel. Next, remove the 4 nuts behind the handle with a 10 mm socket. Take off the yellow cap that holds the rod connected to the handle. Disconnect the rod, then unplug the power connector by pressing the tab and pulling it out. Also, remove the power connector with its support: to remove the support, push the pin that comes out the other side outwards and take it off. Press the two plastic tabs holding the handle in place to release it. Now take the new handle and insert the key cylinder from the old handle by pulling towards you along with the components from the old handle. Refit the handle by passing everything through the respective holes and locking the tabs in place. Now reconnect the opening rod by closing the yellow cap, insert the connector into the hole, connect the power, re-tighten the 4 nuts, and reattach the panel by snapping the plastic caps back in place. Finally, test the new handle by resting the boot, pulling the handle to see if it works; then close the tailgate and open the boot with the new handle.
Updated on 3 June 2026 by ScegliAuto
Video tutorial
Related tutorials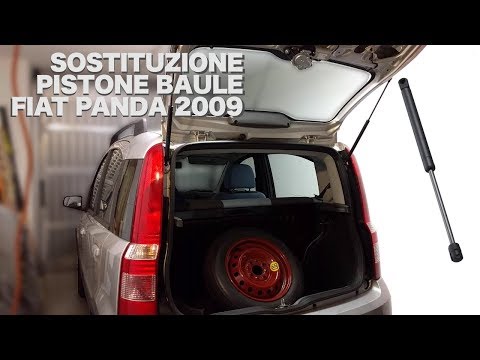
Fiat Panda
(2003-2012 /
169, MK 2)
How to replace the gas struts on the tailgate of a Fiat Panda? Here’s how to replace the parts. Lift the tailgate and secure it with a prop (if remov…
Fiat Panda
(2003-2012 /
169, MK 2)
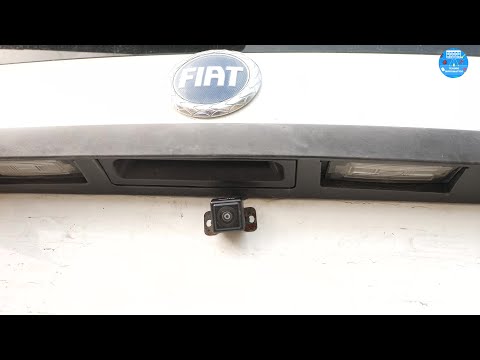
This guide shows how to install the rear camera on the Fiat Panda 169 in the number plate area. First, remove the internal panel of the boot lid. Fro…
Fiat Panda
(2003-2012 /
169, MK 2)
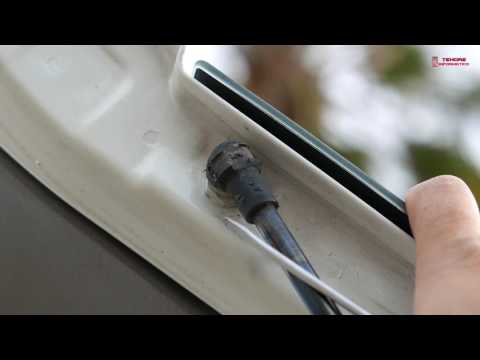
Learn how to replace the tailgate struts on a Fiat Panda. This is a very simple operation, follow these steps: lift the rear tailgate of the boot and…
Other guides you may be interested in
|
How to Reset the Central Locking of the Volkswagen Golf 4?
If the central locking system of the Volkswagen Golf 4 is not working, it is likely necessary to reset the system: to do this, open the driver's door and detach the side panel of the dashboard next to the steering wheel. Under this panel, you will find the fuses, including the one for the central locking, which is indicated in the manual as number 14. To reset the system, remove this fuse from its housing, then reinsert it or replace it with a new one of the same amperage: this will reset the central locking system. by ScegliAuto More videos
|

|
For advertising on this site Write to info@scegliauto.com
ScegliAuto is not responsible for any inaccuracy of the data in the lists. To report any inaccuracy or your business (if you own the business in question), please write to info@scegliauto.com
Number of seconds to generate the page: 0.809
(c) ScegliAuto 2026 - info@scegliauto.com - Privacy policy VAT number: IT01247470535 |
