
|
Do it yourself
| |||
| ||||


How to Replace the EPS Power Steering in a Fiat Panda 169
Model: Fiat Panda
169, MK 2
- Years 2003-2012
The video shows how to install an EPS power steering unit on a Fiat Panda 169. After removing the old part, proceed with the replacement by passing the steering arm through so you can support the new EPS and secure it by tightening the first two nuts at the front and the other two bolts at the back. At this point, you will see how to connect the connectors to the control unit; the first will be blue with a yellow safety latch that needs to be lowered once connected. Next, continue with the installation of the ignition switch; again, first secure it with screws before connecting the connectors. The next step is to connect the connectors related to the indicator stalk, then secure the cables by passing them through the designated clip. Position the indicator stalk until you hear the click of engagement, then tighten the bolts to secure it. Complete by connecting the other connectors and then the transponder sensor for the ignition with the key. At this point, you can place the upper casing over the indicator stalk and finally the lower casing. Finally, insert the universal joint to complete the operation.
Updated on 5 July 2026 by ScegliAuto
Video tutorial
Related tutorials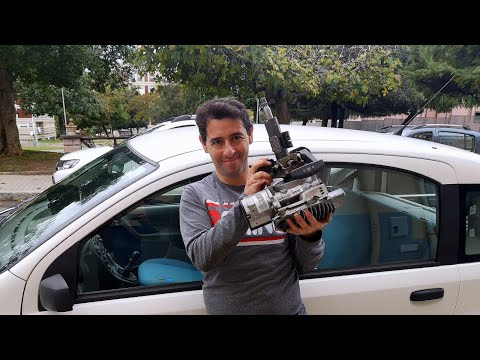
Fiat Panda
(2003-2012 /
169, MK 2)
In today's video tutorial, you will learn how to remove the EPS steering box from a Fiat Panda 169, second generation, by following the instructions …

Fiat Panda
(2003-2012 /
169, MK 2)
To replace the power steering motor on the Fiat Panda, completely remove the plastic covers around the steering column: these can be removed by loose…
Fiat Panda
(2003-2012 /
169, MK 2)
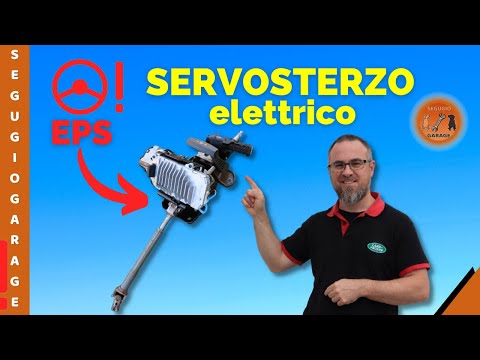
This guide outlines the main steps to remove and replace the steering column or EPS on the Fiat Panda. First, get into the vehicle and start by remov…
Other guides you may be interested in
|
How to Bleed the Clutch on a Renault Clio?
To bleed the clutch on a Renault Clio, open the bonnet to access the components located in the engine bay: here, you will need to undo the screws that secure the battery in its housing, the intake manifold, and the coolant reservoir. This will allow you to locate the pipe through which the brake fluid flows: by inserting the other end of the pipe into a container, you can press the clutch pedal to expel all the fluid until it fills the container. by ScegliAuto More videos
|

|
For advertising on this site Write to info@scegliauto.com
ScegliAuto is not responsible for any inaccuracy of the data in the lists. To report any inaccuracy or your business (if you own the business in question), please write to info@scegliauto.com
Number of seconds to generate the page: 0.830
(c) ScegliAuto 2026 - info@scegliauto.com - Privacy policy VAT number: IT01247470535 |
